
Creating Bookmarks, a Good Excuse to Laminate

My Laminating Machine
I love using my laminating machine, and creating bookmarks is a good excuse to pull it out. I've been known to Google laminating projects for hours. That's an exaggeration... well, maybe not; it's easy to lose track of time on the internet. I also love shaped hole punches too, but that's a subject for another blog.
How I Got Started
It all began innocently enough. When I taught art classes for kids, I started laminating. We crafted these amazing books that held their lessons, and as they completed each one, they added them to their book. I stumbled upon the idea on Pinterest, and that's what got me hooked on laminating.
A Book We Made
To create the books, I took my students' covers to Office Depot for laminating, only to realize it could get quite pricey. That's when I decided to delve into making bookmarks, magnets, and more—those little books with blank pages—for my mom's party one summer. I made gifts for my relatives. It was then I made the decision to invest in a laminating machine.

After crunching the numbers, considering the cost of laminating projects at Office Depot and drawing from my experience at a print shop, I found the cost per sheet was around $2.00, excluding finishing. Comparatively, buying a laminating machine at $22.00 and a pack of 25 - 5 mil plastic pouches at $8.25 made a single large project pay for itself. Making all those gifts for my mom's party would've been far too expensive if I had them done at Office Depot. I may have gone a bit overboard with the gifts, but using my new machine added to the enjoyment of the project.
Investing in a laminating machine proved to be worth it. Despite the rise in prices since that summer, having your own laminating machine pays off. If you're considering a project like this and don't yet have a laminating machine, I highly recommend getting one. It's addictive, and once you start, you'll find yourself wanting to do it again and again. There's something oddly satisfying about watching those sheets glide through the machine, emerging all shiny.
Ideas for Bookmarks
Below, I've compiled some ideas for bookmarks and gift tags that are perfect for laminating. Once they've gone through the machine, all that's left is to cut them out and punch the corners to give them that rounded finish. These bookmarks work wonderfully as last-minute gifts, while the tags can beautifully adorn your Christmas packages.
Now, for this little art project, it helps if you have a penchant for hoarding, especially when it comes to paper. I'll admit, I'm sharing quite a lot about myself in this blog! I rummaged through my stash—three boxes conveniently labeled 'other papers.' You know, the ones you keep because they're interesting. From there, I selected some papers I believed would make fantastic bookmarks.

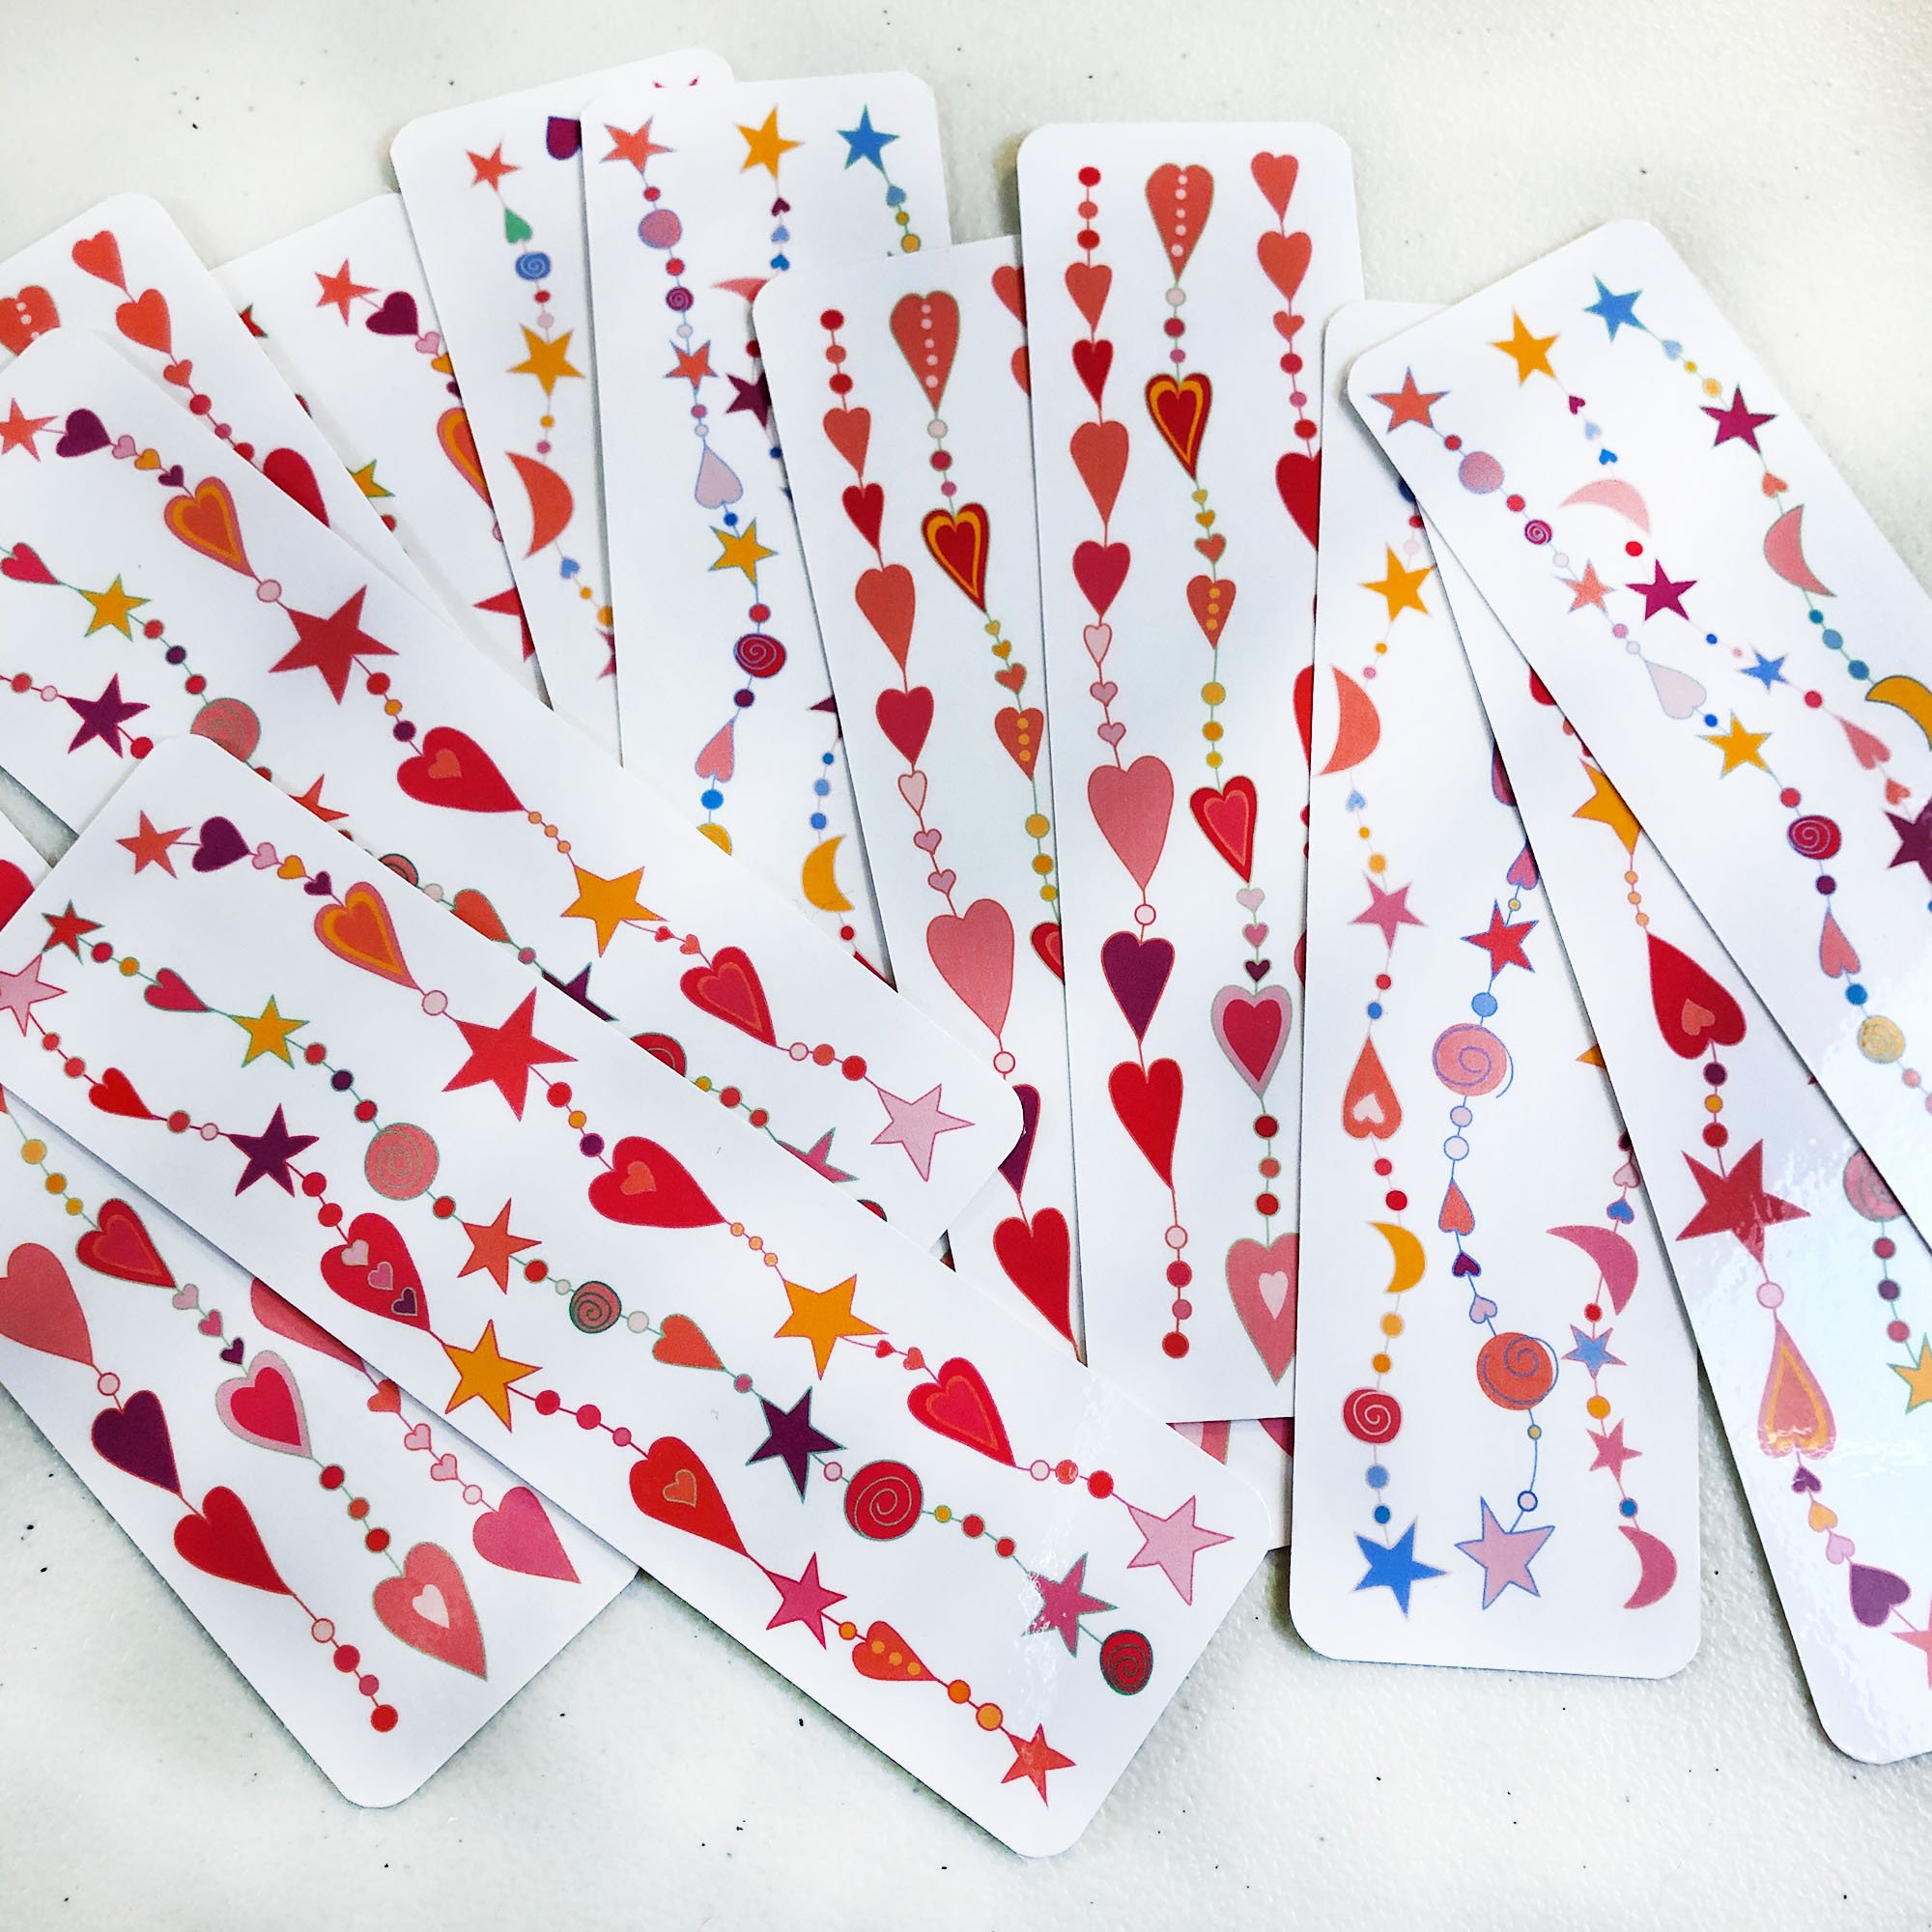
Here is the paper I collected.
These are cards that didn’t print well and were rejected.
For this Project You Will Need
● Art Work – Digital designs that you print, your own art work, old cards, interesting paper, wrapping paper, or scrapbook paper.
● Adobe Acrobat Reader – If you want to print your own designs, This free download allows you to view and print digital files. Download it here. Please follow the instructions provided. See my blog on How to Print from Acrobat.
● A Printer – If you want to print your own designs. Most printers give you great results if you print with a high-quality print setting. If you don’t have a printer, I suggest using a local print shop.

● A Paper Cutter –
A Fiskar like the one pictured here works. Another option is a guillotine style trimmer that you can find on Amazon.

● A Hole punch – for gift tags

● A Corner Paper Punch – Available on Amazon.
Paper Assortment
Some of the paper was samples from the paper company that I order from online, PaperPapers.com. That website is a danger zone for me, along with the Paper Store. Whenever you place an order, they send these incredible paper samples—I couldn't resist using them for bookmarks. I also stumbled upon some scrapbook paper I had purchased for an earlier project and found leftover pieces of paper that were perfect for this.
I also happen to have some handmade paper that I originally bought for other mixed-media projects, and I pulled that out as well. Wrapping paper works too, but make sure it's substantial enough. I tossed in some wrapping paper in my selections because I have a hundred sheets of laminating sleeves—so why not explore all options!

Tags made from wrapping paper
The nice thing about doing this is the tags match your paper and if you keep them, you can reuse them because they are very durable once laminated.
Ideas for Package Tags
For the tags I used rejects from the cards that I print to sell. Like I mentioned in an earlier blog, I worked at a print shop for a lady named Terry. Terry was very particular, and I learned to be particular too when I print cards out. I have a box of rejects. Some of those cards I thought would make good gift tags. If` you have old cards that you usually throw out, keep them, and re-purpose them. You shouldn't have to go to the store to buy paper for this project. Use what you have. Maybe it's a piece of stationary that you haven't used that has a beautiful border. I have sheets of those in a box too.
Sizes
First, I settled on a bookmark size of 2 by 8 inches. However, much of the paper I found isn't that exact size, but if it's close, I'm using it. You might prefer a different thickness, shorter or longer bookmarks—there's no right or wrong size. For a 2 x 8-inch size, add half an inch to both the width and length to account for trimming.
Gather all your chosen papers and use a paper cutter to create strips measuring 2.5 by 8.5 inches.
As for tags, they can be any size. Tag packages often contain various sizes. Personally, I prefer larger tags, so I settled on a 2 x 2-inch size, cutting them to 2.5 x 2.5 inches. Your tags can vary in size based on preference. Consider writing on the back of the tag—either leaving it blank for 'to' and 'from' or personalizing it now if you know the recipient. If you prefer typed text and don't like your handwriting, print the message on the back, cut it to match the tag size, and laminate them together. A dab of glue or tape can help hold them in place before laminating.
Paper and Laminating Sheet Choices
I'm currently printing designs specifically for bookmarks, intending to sell them online as downloadable prints. By signing up for my newsletter, you'll receive these bookmark designs periodically. I recommend using substantially thick paper or thin cardstock for these designs as they work best with the laminator. You can opt for 3 or 5 millimeter lamination sheets; the 5 millimeter thickness tends to give the bookmarks a nicer, slightly thicker appearance.
Now, let's delve into some laminating tricks. When I created projects for my mother's party, I encountered several challenges. However, after figuring out the best way to craft laminated sheets, I'm eager to share those techniques with you.
Some of the problems I had.
I made the mistake of laying out my objects too closely together while laminating, resulting in a lack of a nice border around them when cut. Aim for at least a 1/4-inch border of laminating plastic around your design so that the sheets stick together. I recently discovered that the paper adheres to the plastic sheet once it goes through the heating process of lamination. You can trim your bookmarks and tags by cutting off the edges to achieve a neat finish.
Wrinkles were a challenge for me. To prevent this, ensure the sheets are inserted straight into the machine. Don't push or hold them back—let the laminating machine operate on its own. It doesn't need your help, just as it didn't need mine.

Keeping the paper inside from slipping is crucial. Position it carefully on the tray, ensuring it's level so the paper won't shift. Any twisting or holding one end higher than the other can cause the paper inside to slide. Once the edge of the sheet is in the laminating machine, it'll pull it through, and trying to stop it may create other issues like wrinkles.
After the sheets come out, let them cool and lay them flat before cutting or handling them extensively.
Ensure the machine warms up adequately because the plastic won't adhere if it's not hot enough.
Patience is key in laminating—it's a test, and I'm rooting for your success!

Finishing the Bookmarks and Tags
Having the right tools like a good paper cutter and a corner punch can really enhance the finish of your bookmarks and tags. Rounded corners not only look nicer but also prevent sharp edges.
And you're right—laminating can become quite addictive! Once you start, you might find yourself eagerly laminating anything you can find. Exploring new projects through Google and Pinterest becomes a natural next step because it's just so much fun. I'm certain you'll want to do it all over again!