
Printing and Finishing a Square Card
Choosing the Size Card to Print.
Now What?
You have purchased one of my square card designs or have created one of your own and you would like a little help printing it out. Before I do that, I would like to share some card printing basics.
Cards vary in size, and your choice depends on personal preference. I design downloadable cards to match readily available card-making supplies. I explored stores that sell cards making supplies to ensure the cards I create align with the envelopes you can easily find.
Shopping at a wholesale paper store provides me with various options. While I occasionally use Amazon for envelope variety, major craft stores have limited sizes. Realizing this, I've aligned my card templates with the popular sizes found in these craft stores.
What are the popular size envelopes for card making?
Notecards use an A2 envelope. The note card is printed on an 8.5 x 11-inch sheet of card stock and is cut in half, creating two notecards per sheet of card stock, making the notecard 4.25 x 5.5-inches.
Invitations use an A6 envelope. The invitation is printed on an 8.5 x 11-inch sheet of card stock and is trimmed to a 6 ¼ x 4 ½ size folded over. Because you have to trim the card to size, you can bleed the design off the side of the paper. I will explain more about that later.
Large Greeting Cards that use an A9 envelope are printed on an 8.5 x 11-inch sheet of card stock and are simply folded in half. This size card and the A2 card have a border around the sides.
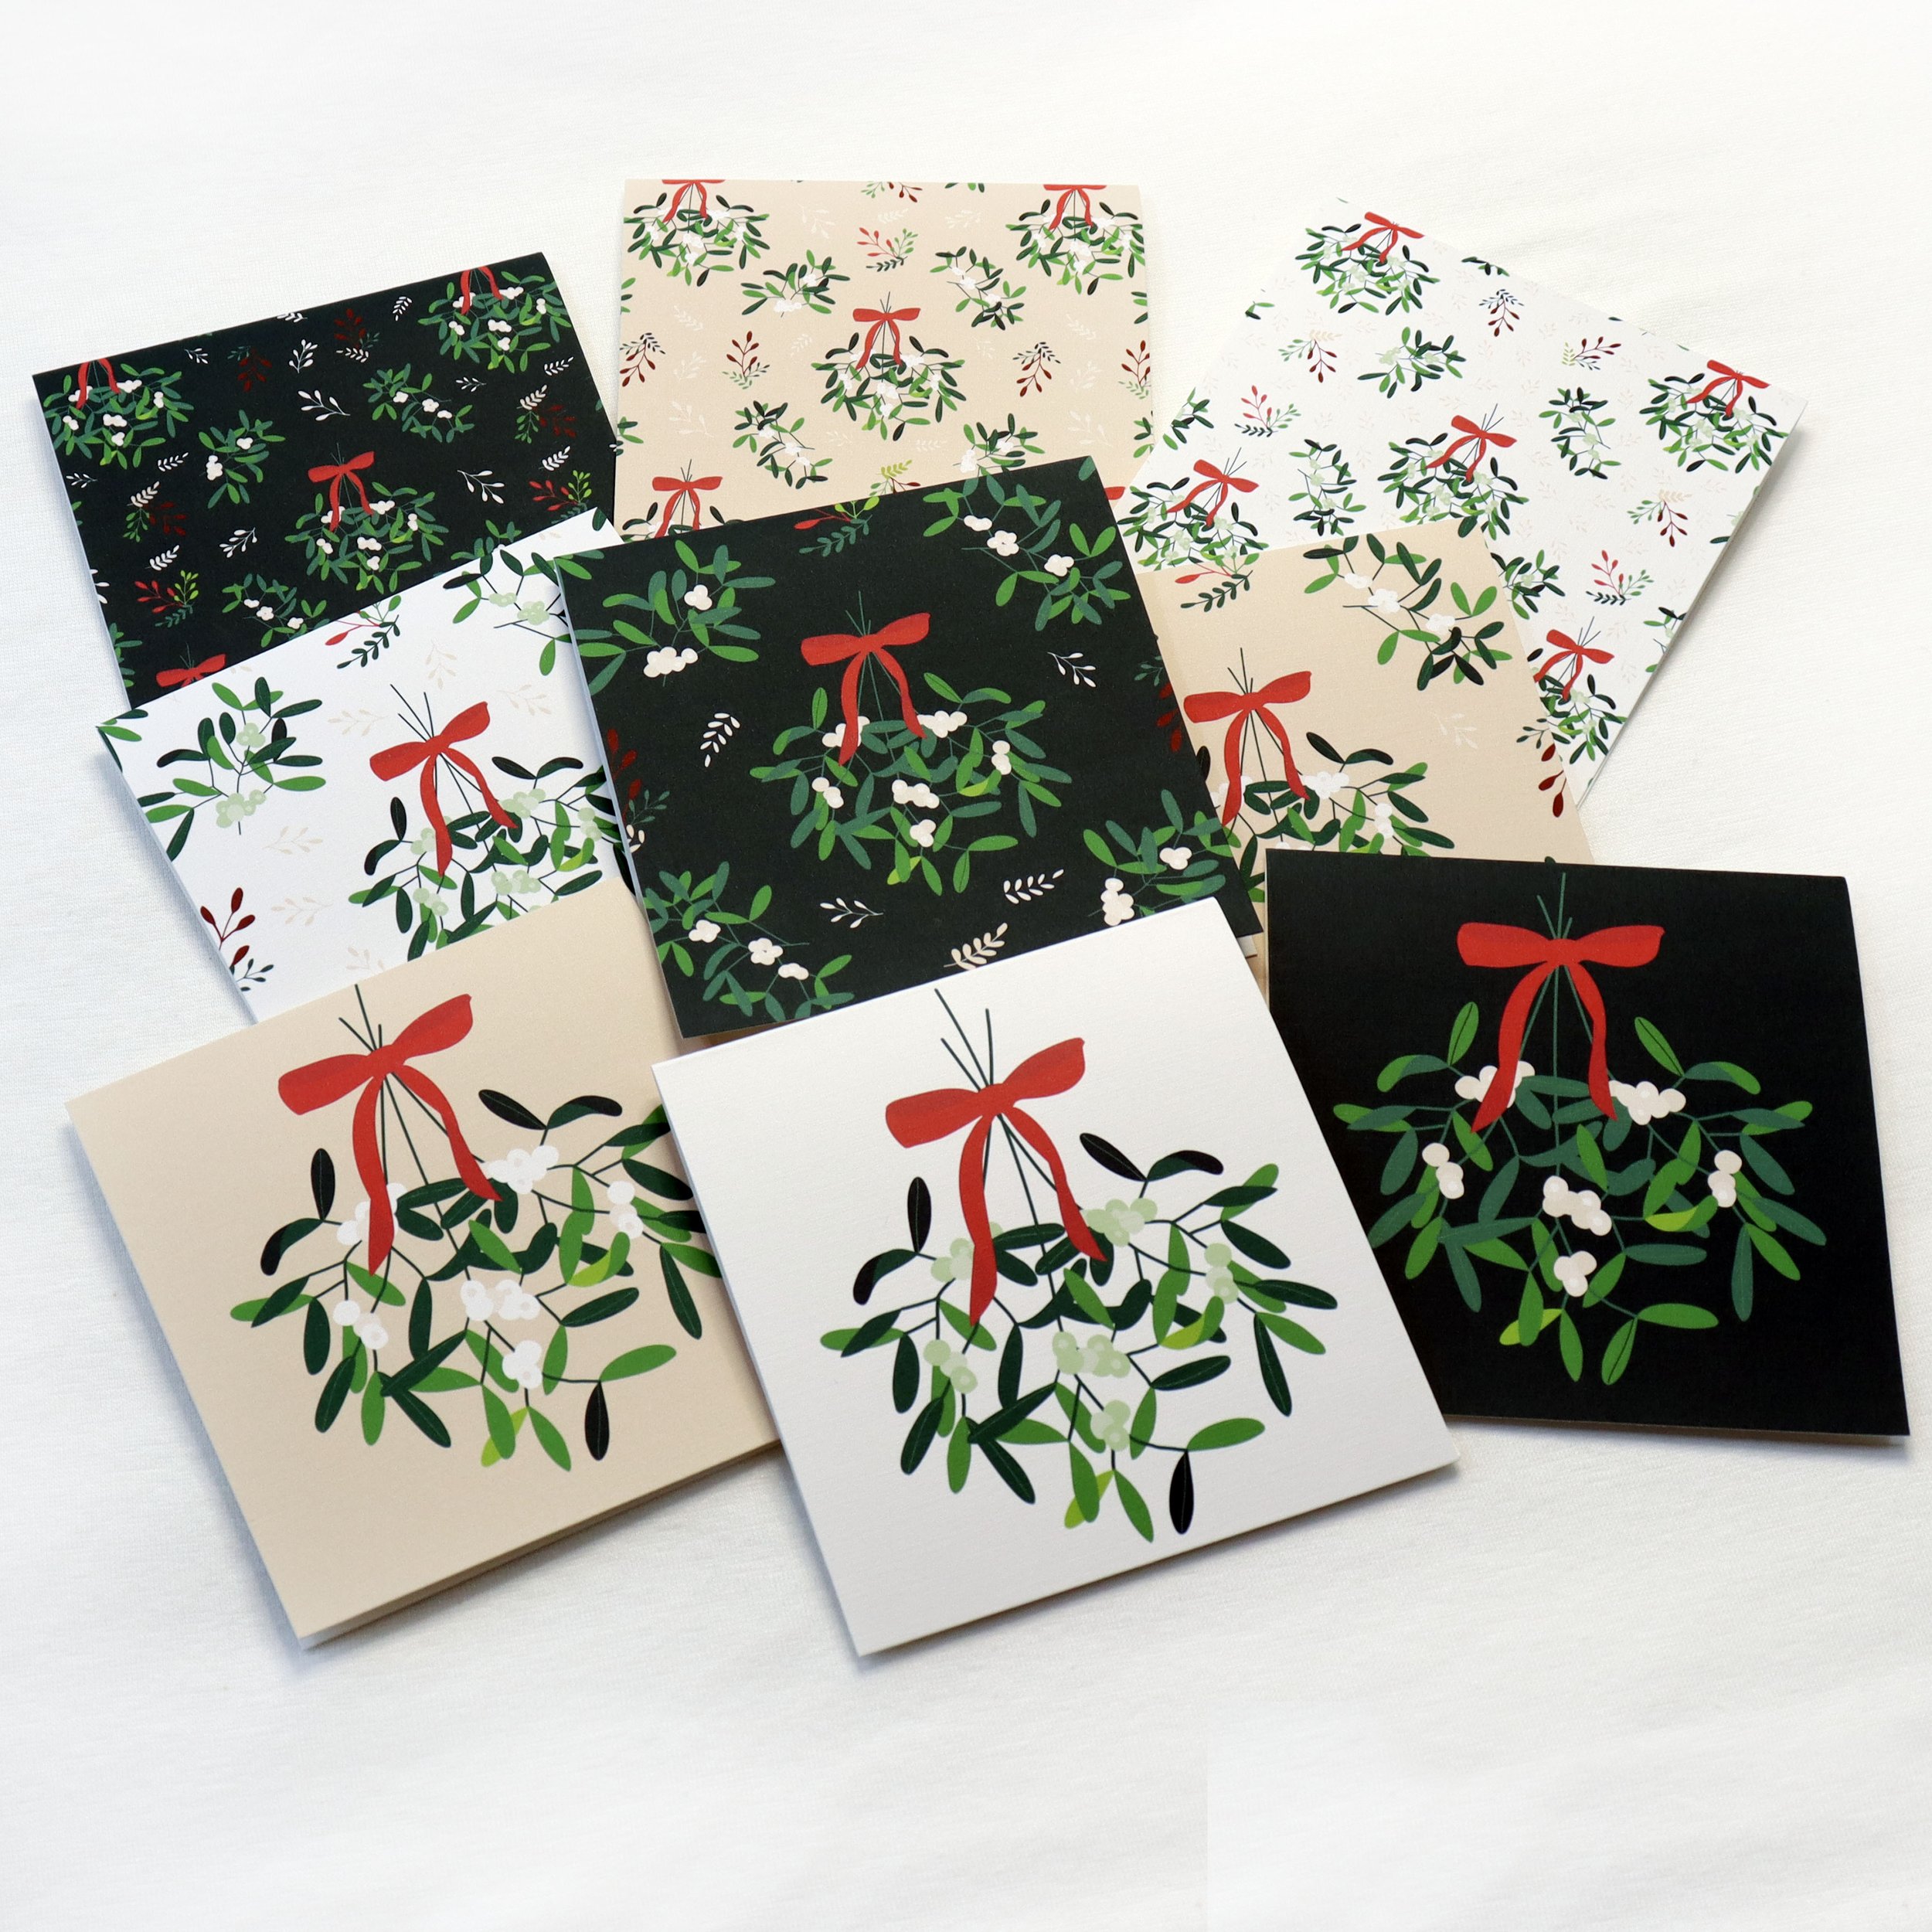
Square Cards use a 5.5 x 5.5-inch Invitation envelopes. One card is printed on one sheet of card stock and it is trimmed to a 5 x 5-inch card.
Bleed or No Bleed?
If you have a printer that prints to the edge of the paper, then it is possible to create a design that fills the whole front of a card. This is called a bleed.
I personally like the design of a card to go to the edge. But my notecards have a border. This is because I don’t print to the edge of the paper even though my printer has the capability. I print so many cards, I am afraid I would have an issue of cards not printing correctly. However, I use A8 envelopes to create a large greeting card with a bleed. I also create square greeting cards where the design goes to the edge of the paper.
I am able to do this by printing the design larger than I need and then trimming the card to fit the envelope, thus making the design cover the whole front of the card without a border.
What is scoring and why does it matter?
Although you can just fold a card over when you are done printing, a better way is to use a scorer. You place the card’s edge at the halfway mark. For example, the edge of an A2 card which is 8.5-inch long at the 4.25-inch line and pull the scoring tool over the center of the card. It creates a groove so when you fold the card, it is a cleaner fold and also easier to do, because most of the work has been done for you.
I hope by now you are feeling more familiar with some of the decisions you can make when printing cards to get the results that you want.
For this project you will need:
● A Digital Design – These instructions are for the square cards that you can purchase here in my Etsy Shop. However, the instructions can be used to create any 5 x 5-inch square digital card.
● Adobe Acrobat Reader – This free download allows you to view and print digital files. Download it here. Please follow the instructions provided.
● Paper – I suggest high-quality card stock as thick as your printer can handle for the notecards. A good choice is Neenah card stock with a 110 lb. weight is available on Amazon, at Walmart, and Office Depot. Other choices are 110lb. card stock at Michael’s and Joann Fabric and Crafts.
● Envelopes – The 5.5 x 5.5-inch square invitation envelope fits a 5 x5-inch square card and can be found on Amazon
● A Printer – Most printers give you great results if you print with a high-quality print setting. If you don’t have a printer, I suggest using a local print shop.
● A Paper Cutter – A Fiskar like the one pictured below works. And it also serves as a scorer, which I suggest you use for a nice clean fold. You can find the cutter on Amazon or Joann’s. Another option is a guillotine style trimmer that you can find on Amazon.
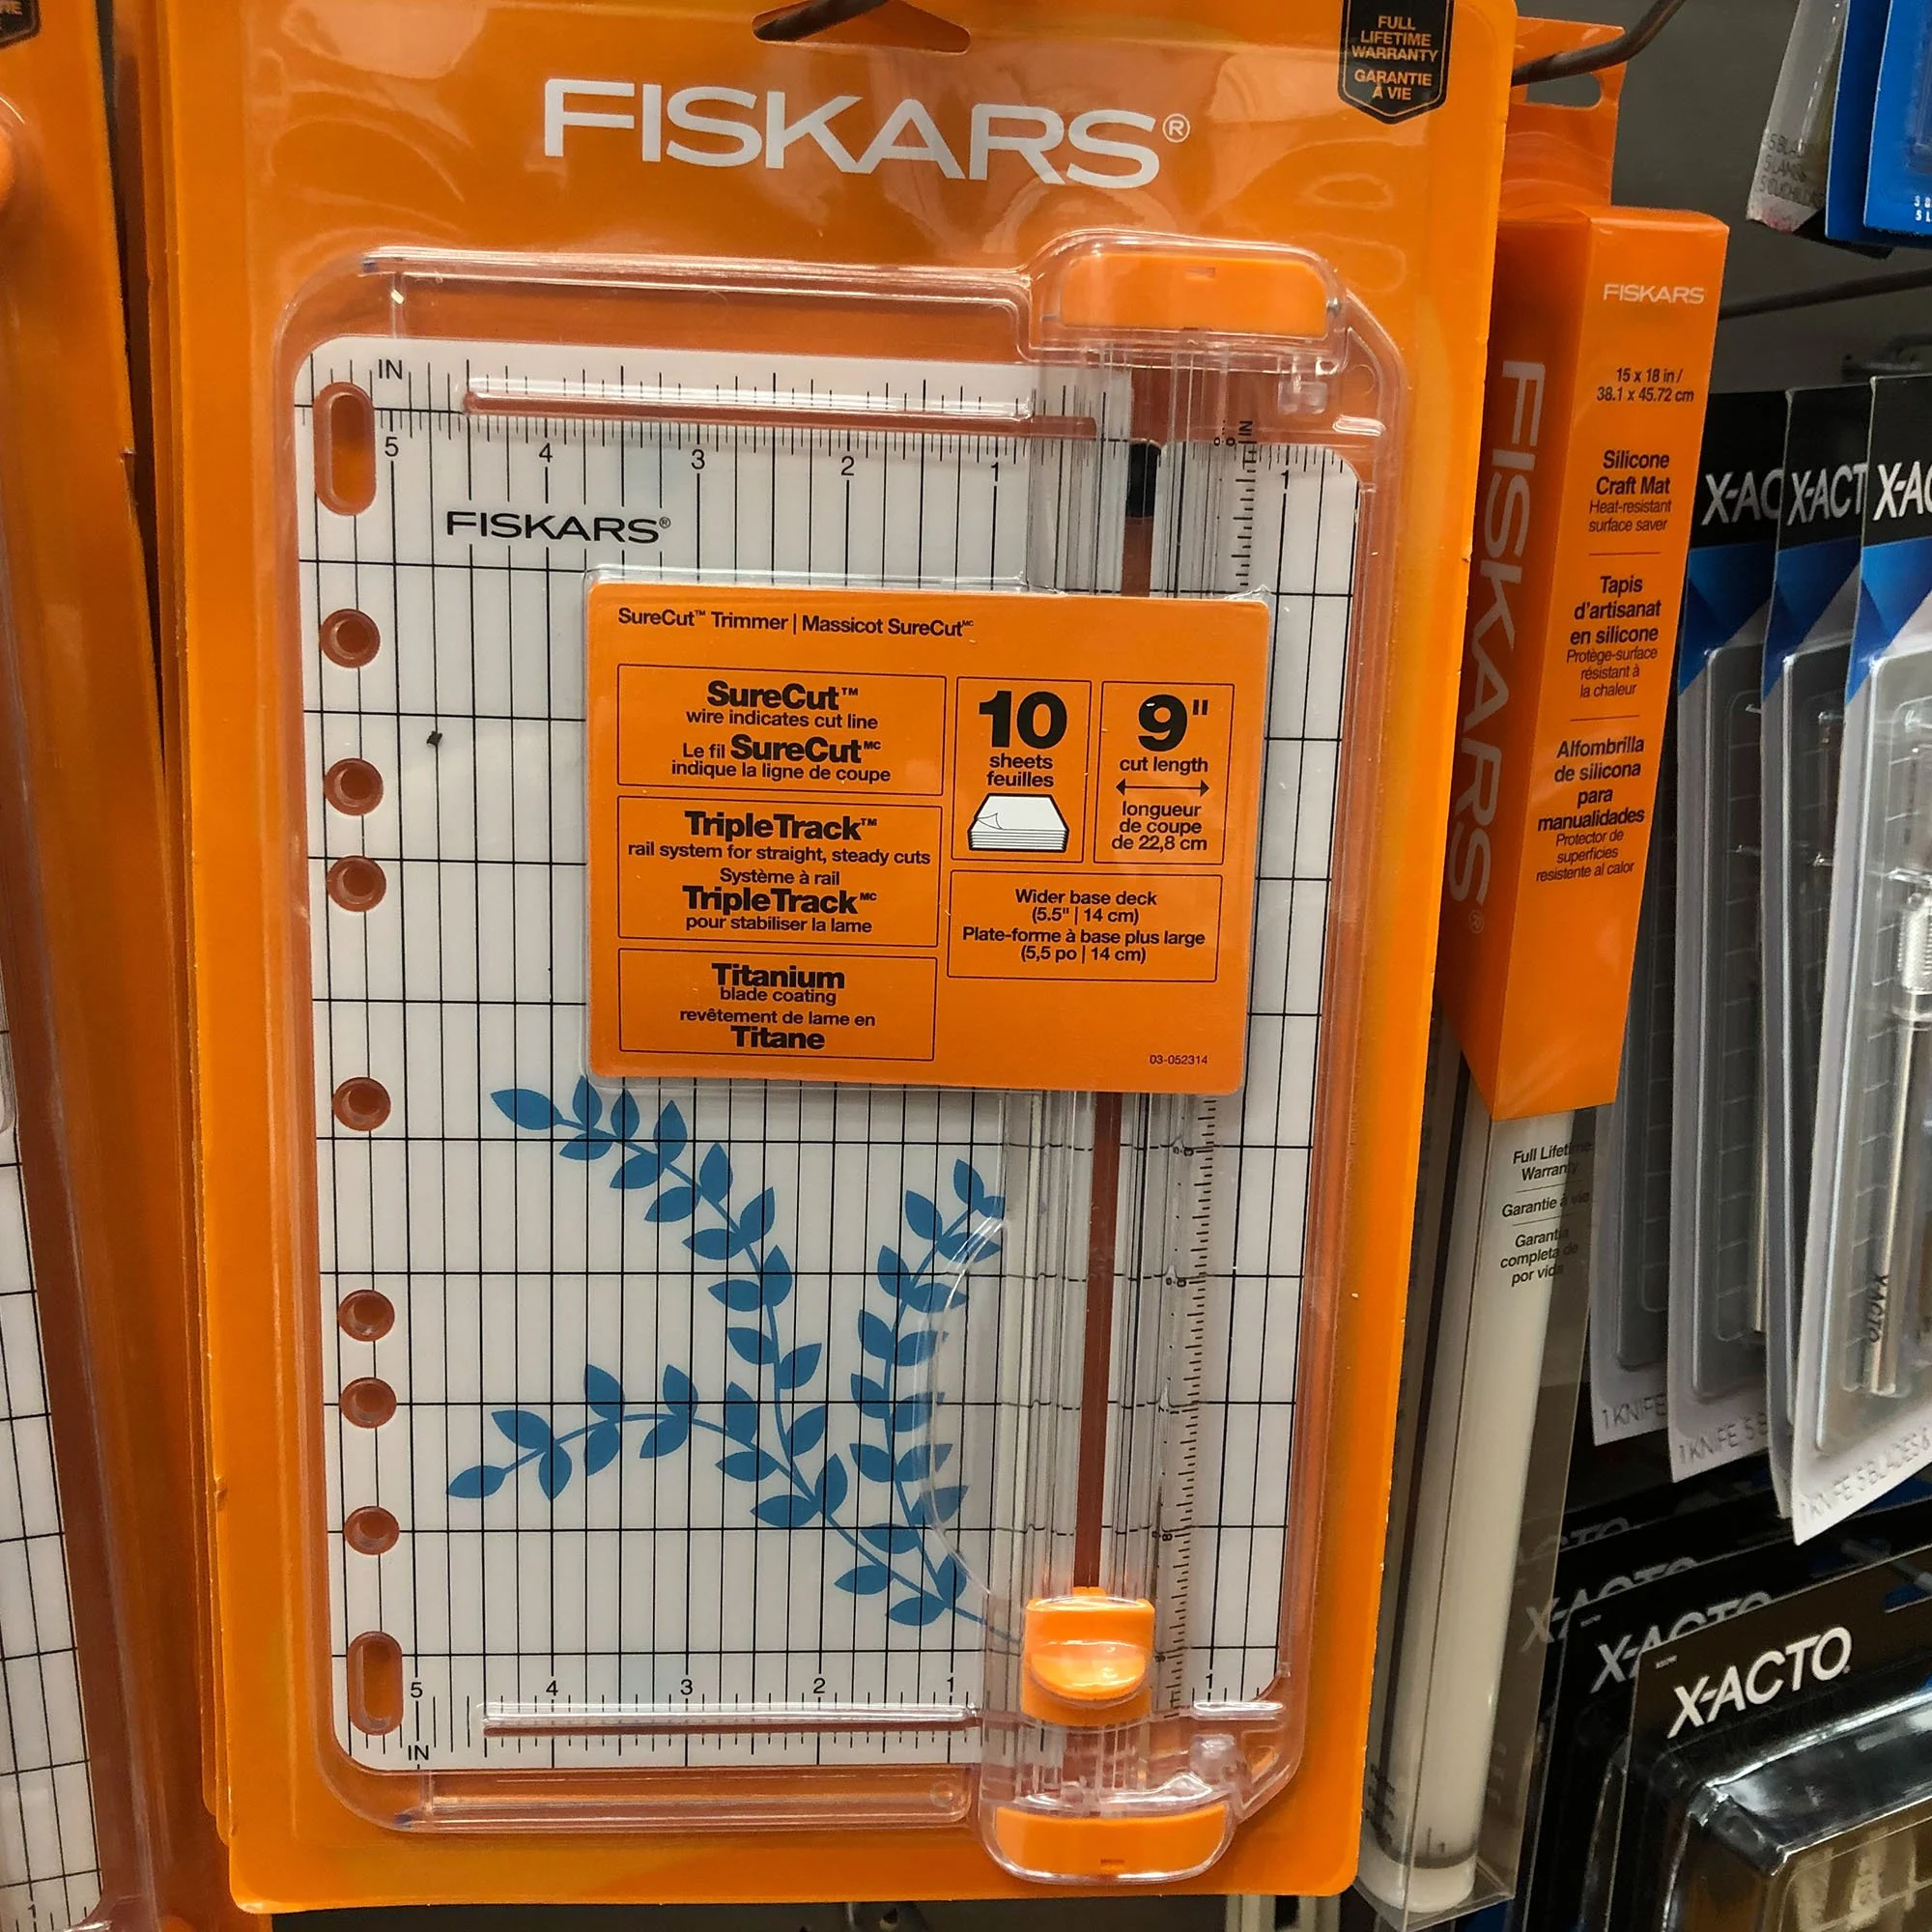
You need to buy the scorer separately, which is available on Amazon.
The scorer is designed to fit in where the blade is located, featuring a dull edge that creates a groove in the card stock, helping you achieve a clean fold.
Let’s get started.
How to Download the File
To download the square card file, follow these steps on your Etsy Order Page: Click the provided link, which will direct you to the download page. Once there, click on the link to download the zip file containing the sqaure card designs and instructions. Retrieve the file from your download folder and relocate it to your preferred storage location on your computer—I personally use a folder named Digital Downloads.
Using Acrobat to Print
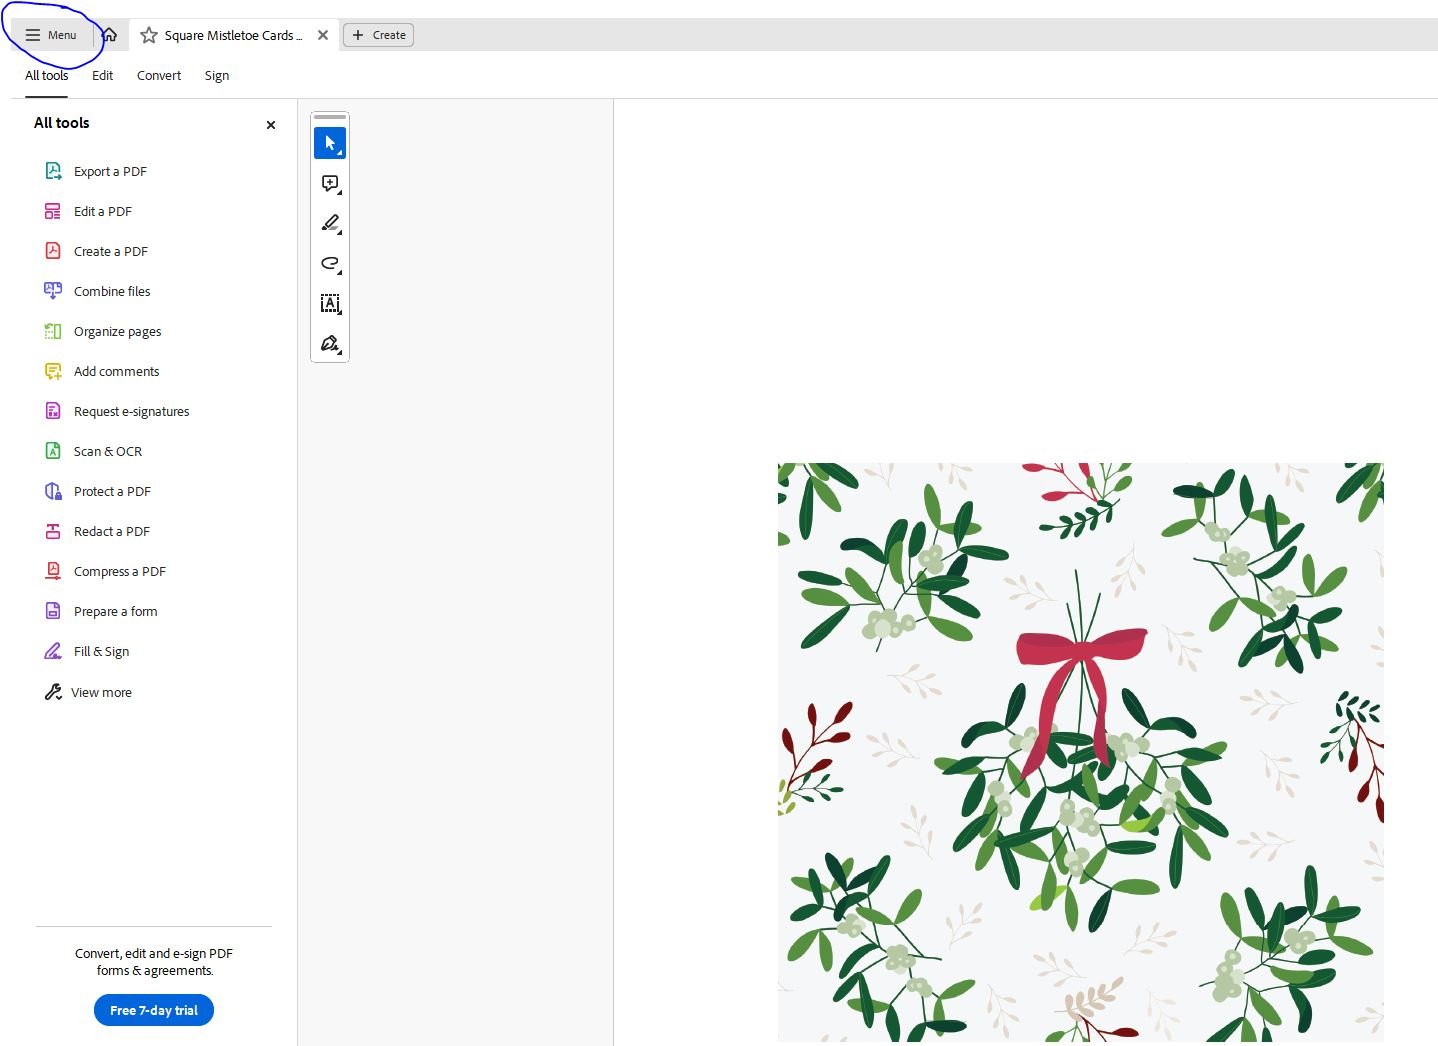
Open the square cards file in Acrobat, right-click on the file and choose "Open in Acrobat Reader." Once your file is open in Acrobat, find the MENU tab in the upper-left corner of the page. Click it, and a dropdown menu will appear. Choose the "Print" option.
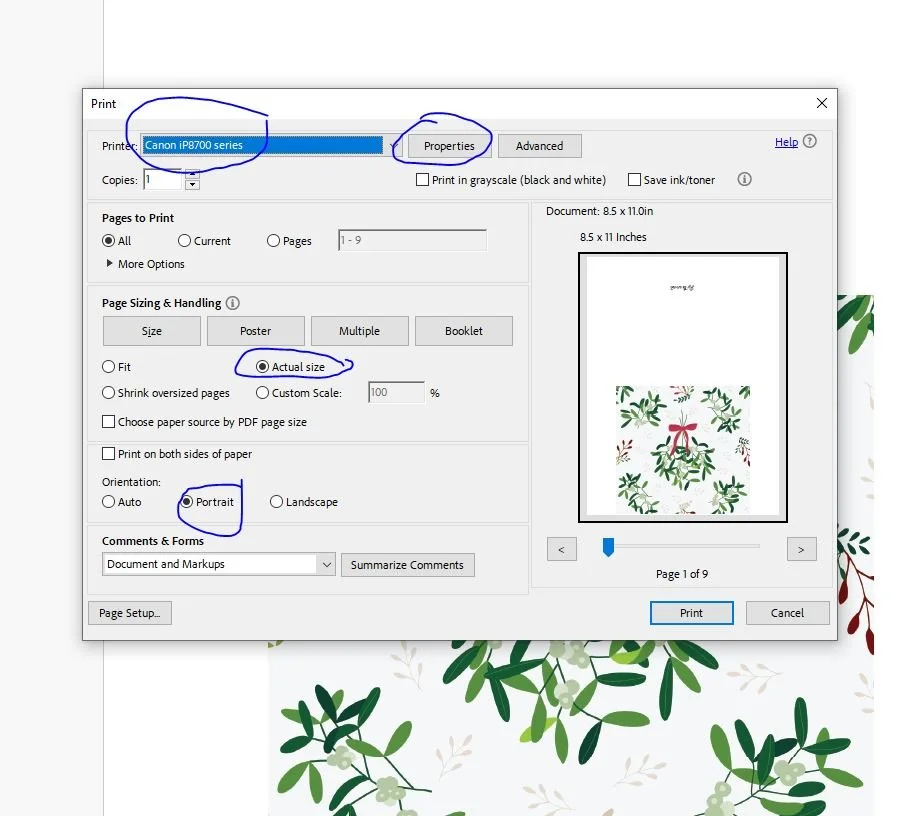
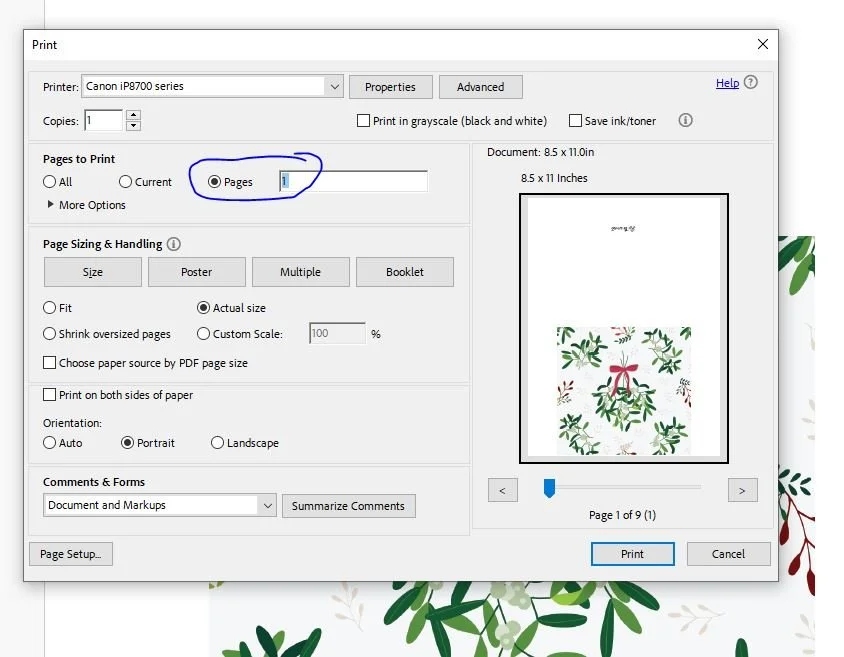
A dialog box will open. Select your printer. Select portrait for the notecards. Select Actual Size.
Make sure the print orientation matches the file orientation.
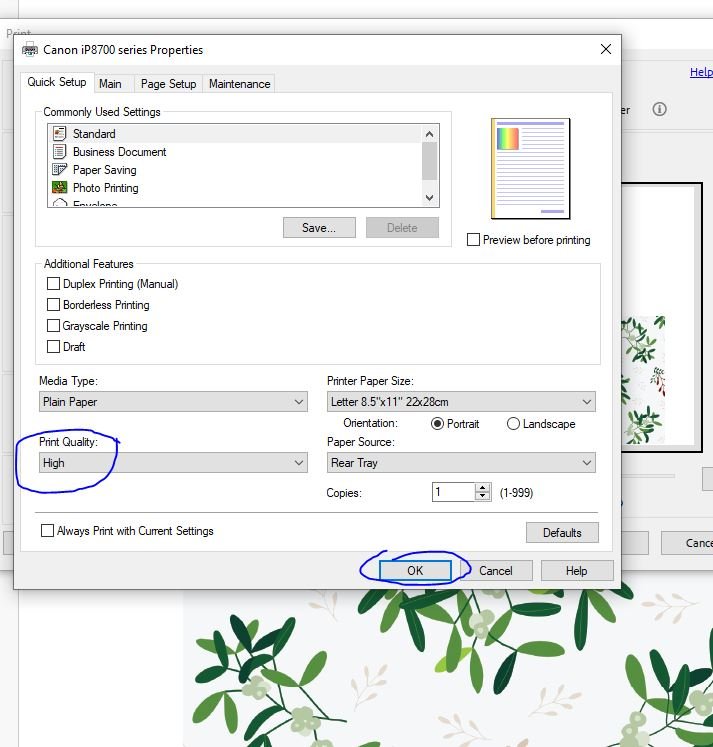
Go to properties at the center top of the dialog box. The properties dialog box will appear, and select High-Quality Print. Make sure to save your selection by hitting OK at the bottom right. The properties box will close. Make sure you have your paper loaded in the printer and click print.
Pro tip:
Print only one copy of the card to ensure the page has printed correctly before proceeding with the rest. In the print panel, set up the test by entering "1" in the "Pages to Print" section. If the test page looks satisfactory, proceed to the next step: cut and fold the card to verify the correct size. Test it by slipping it into a square envelope. If the card looks good and fits the envelope, go ahead and print the remaining copies.
Since you are using heavy card stock, only insert two sheets into your printer at a time. This ensures that the printer can pull each sheet correctly; using more than two sheets may cause the paper to slip, resulting in a misprinted design.
When printing a square card or any card with a bleed it is better to score and fold the card first and then trim the edges off.
Scoring the Card
First you may need to change the cutter to a scorer. You can find instructions for that HERE.
Score the cards in the center and fold them. The center of the card is 5.5-inches.
Fold the card over so it is ready to cut.

Trim the Card
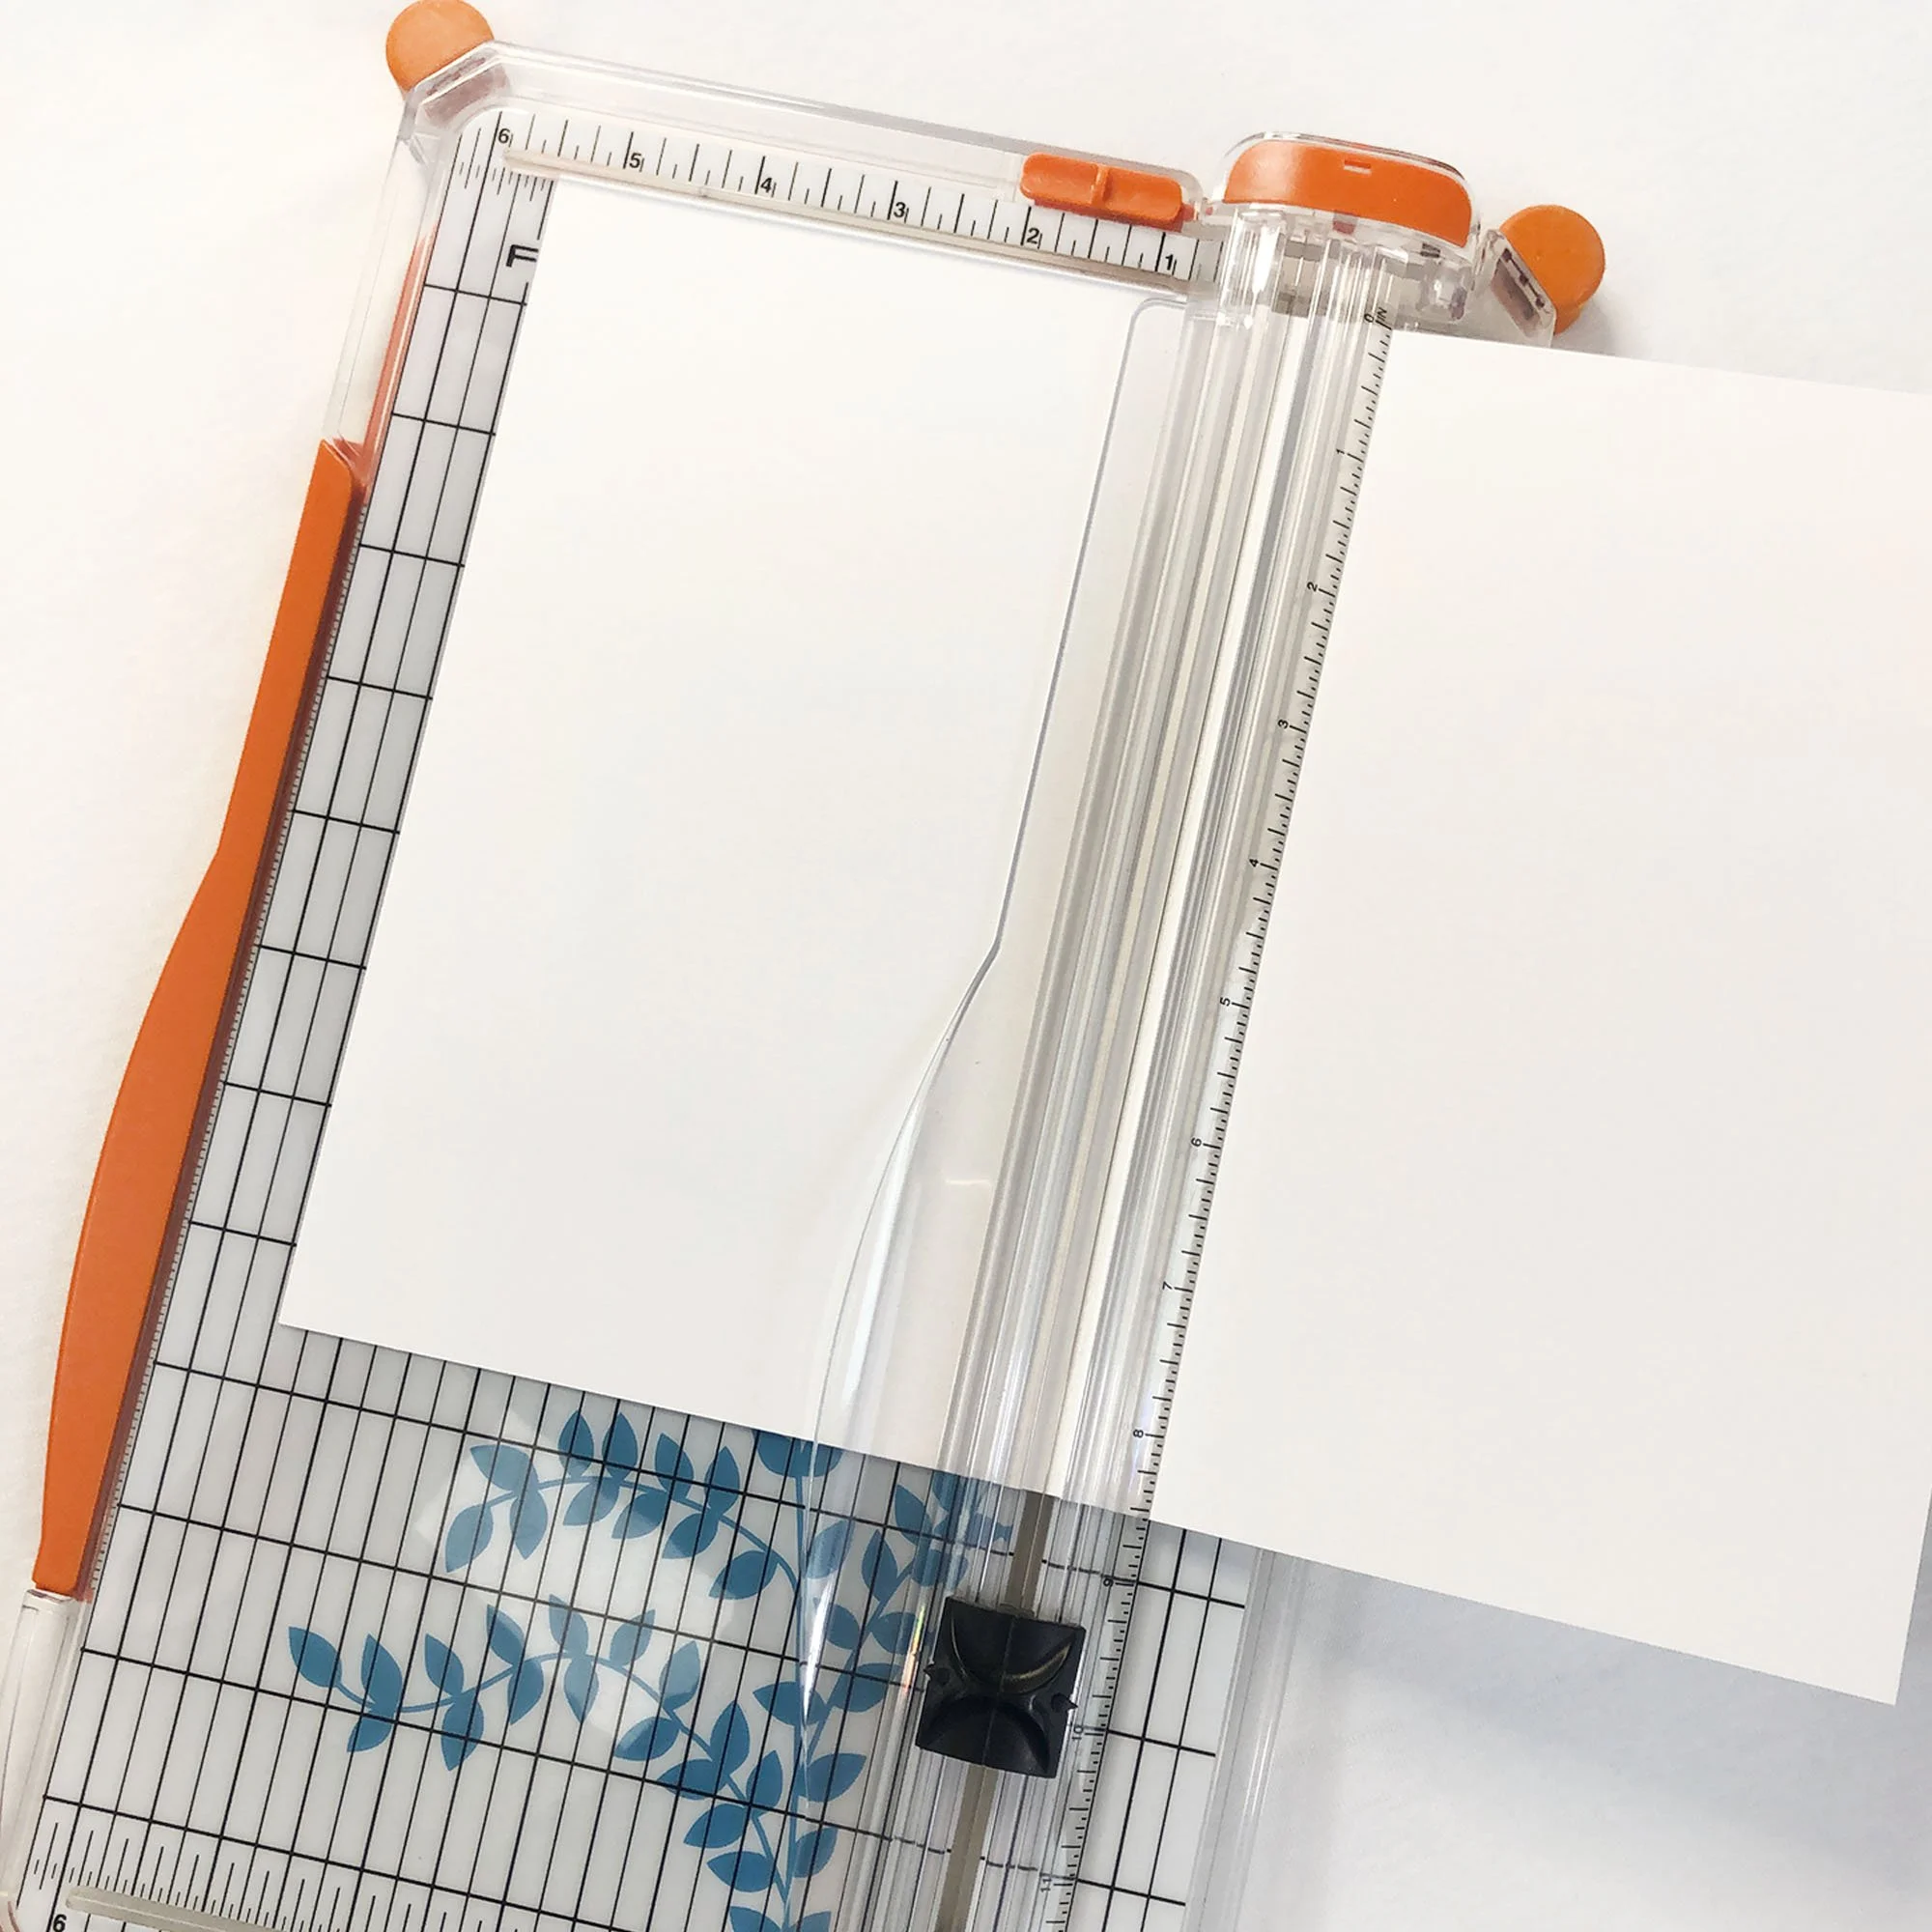
You can use a Fiskar paper cutter, but with the folder over card, a guillotine style trimmer is better. If you use the Fiskar, don’t fold the paper over when trimming the edges. Trim .25-inches off the edges on the open sides.

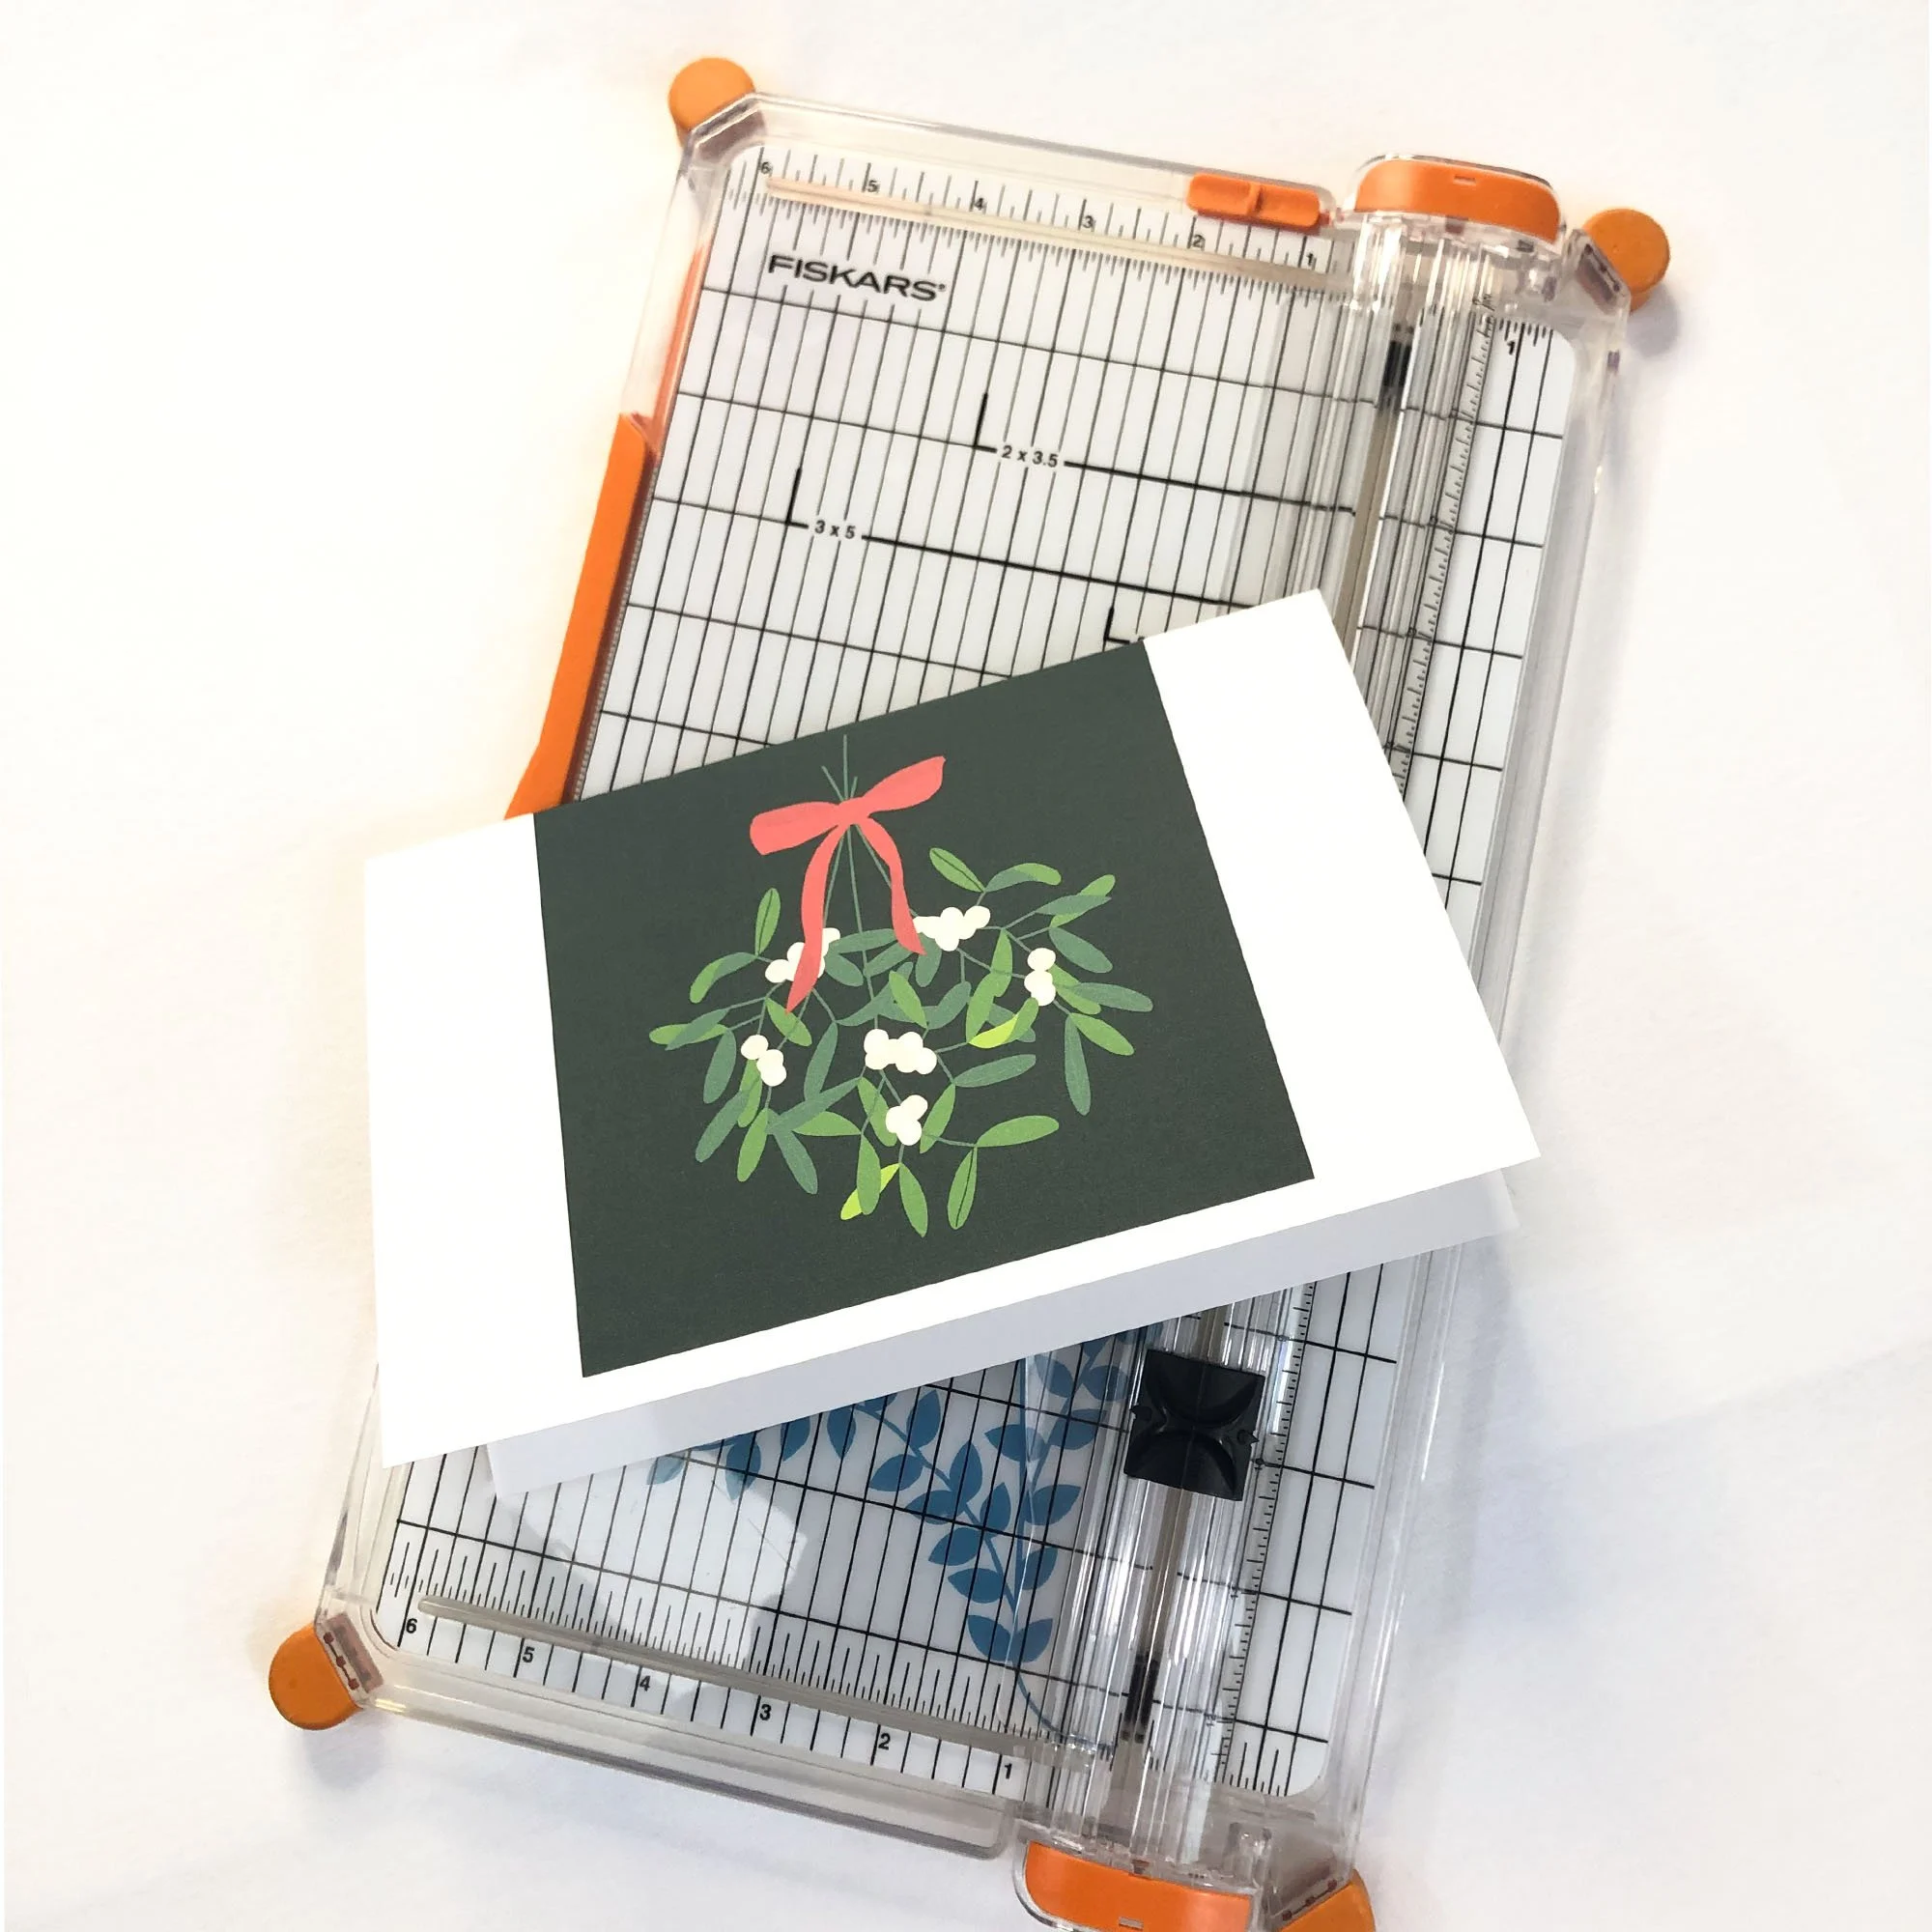
You are finished.
Once you trim the edges your card is now finished.
Let me know if this blog has been helpful to you in the comments below.