
How to Print and Finish Notecards
Another Fun DYI Project
Card Making
I have been making my own cards since I turned 22, and that was quite a while ago. They have been created using rubber stamps, pen and ink, colored pencils, watercolor, and even cut linoleum block prints.
Mastering the art of crafting digital card designs and handling the printing process was a game-changer in my card-making adventure. The world of graphic design unveiled endless creative opportunities, and I can't wait to share these inspired creations with you—it just feels right.
Something New
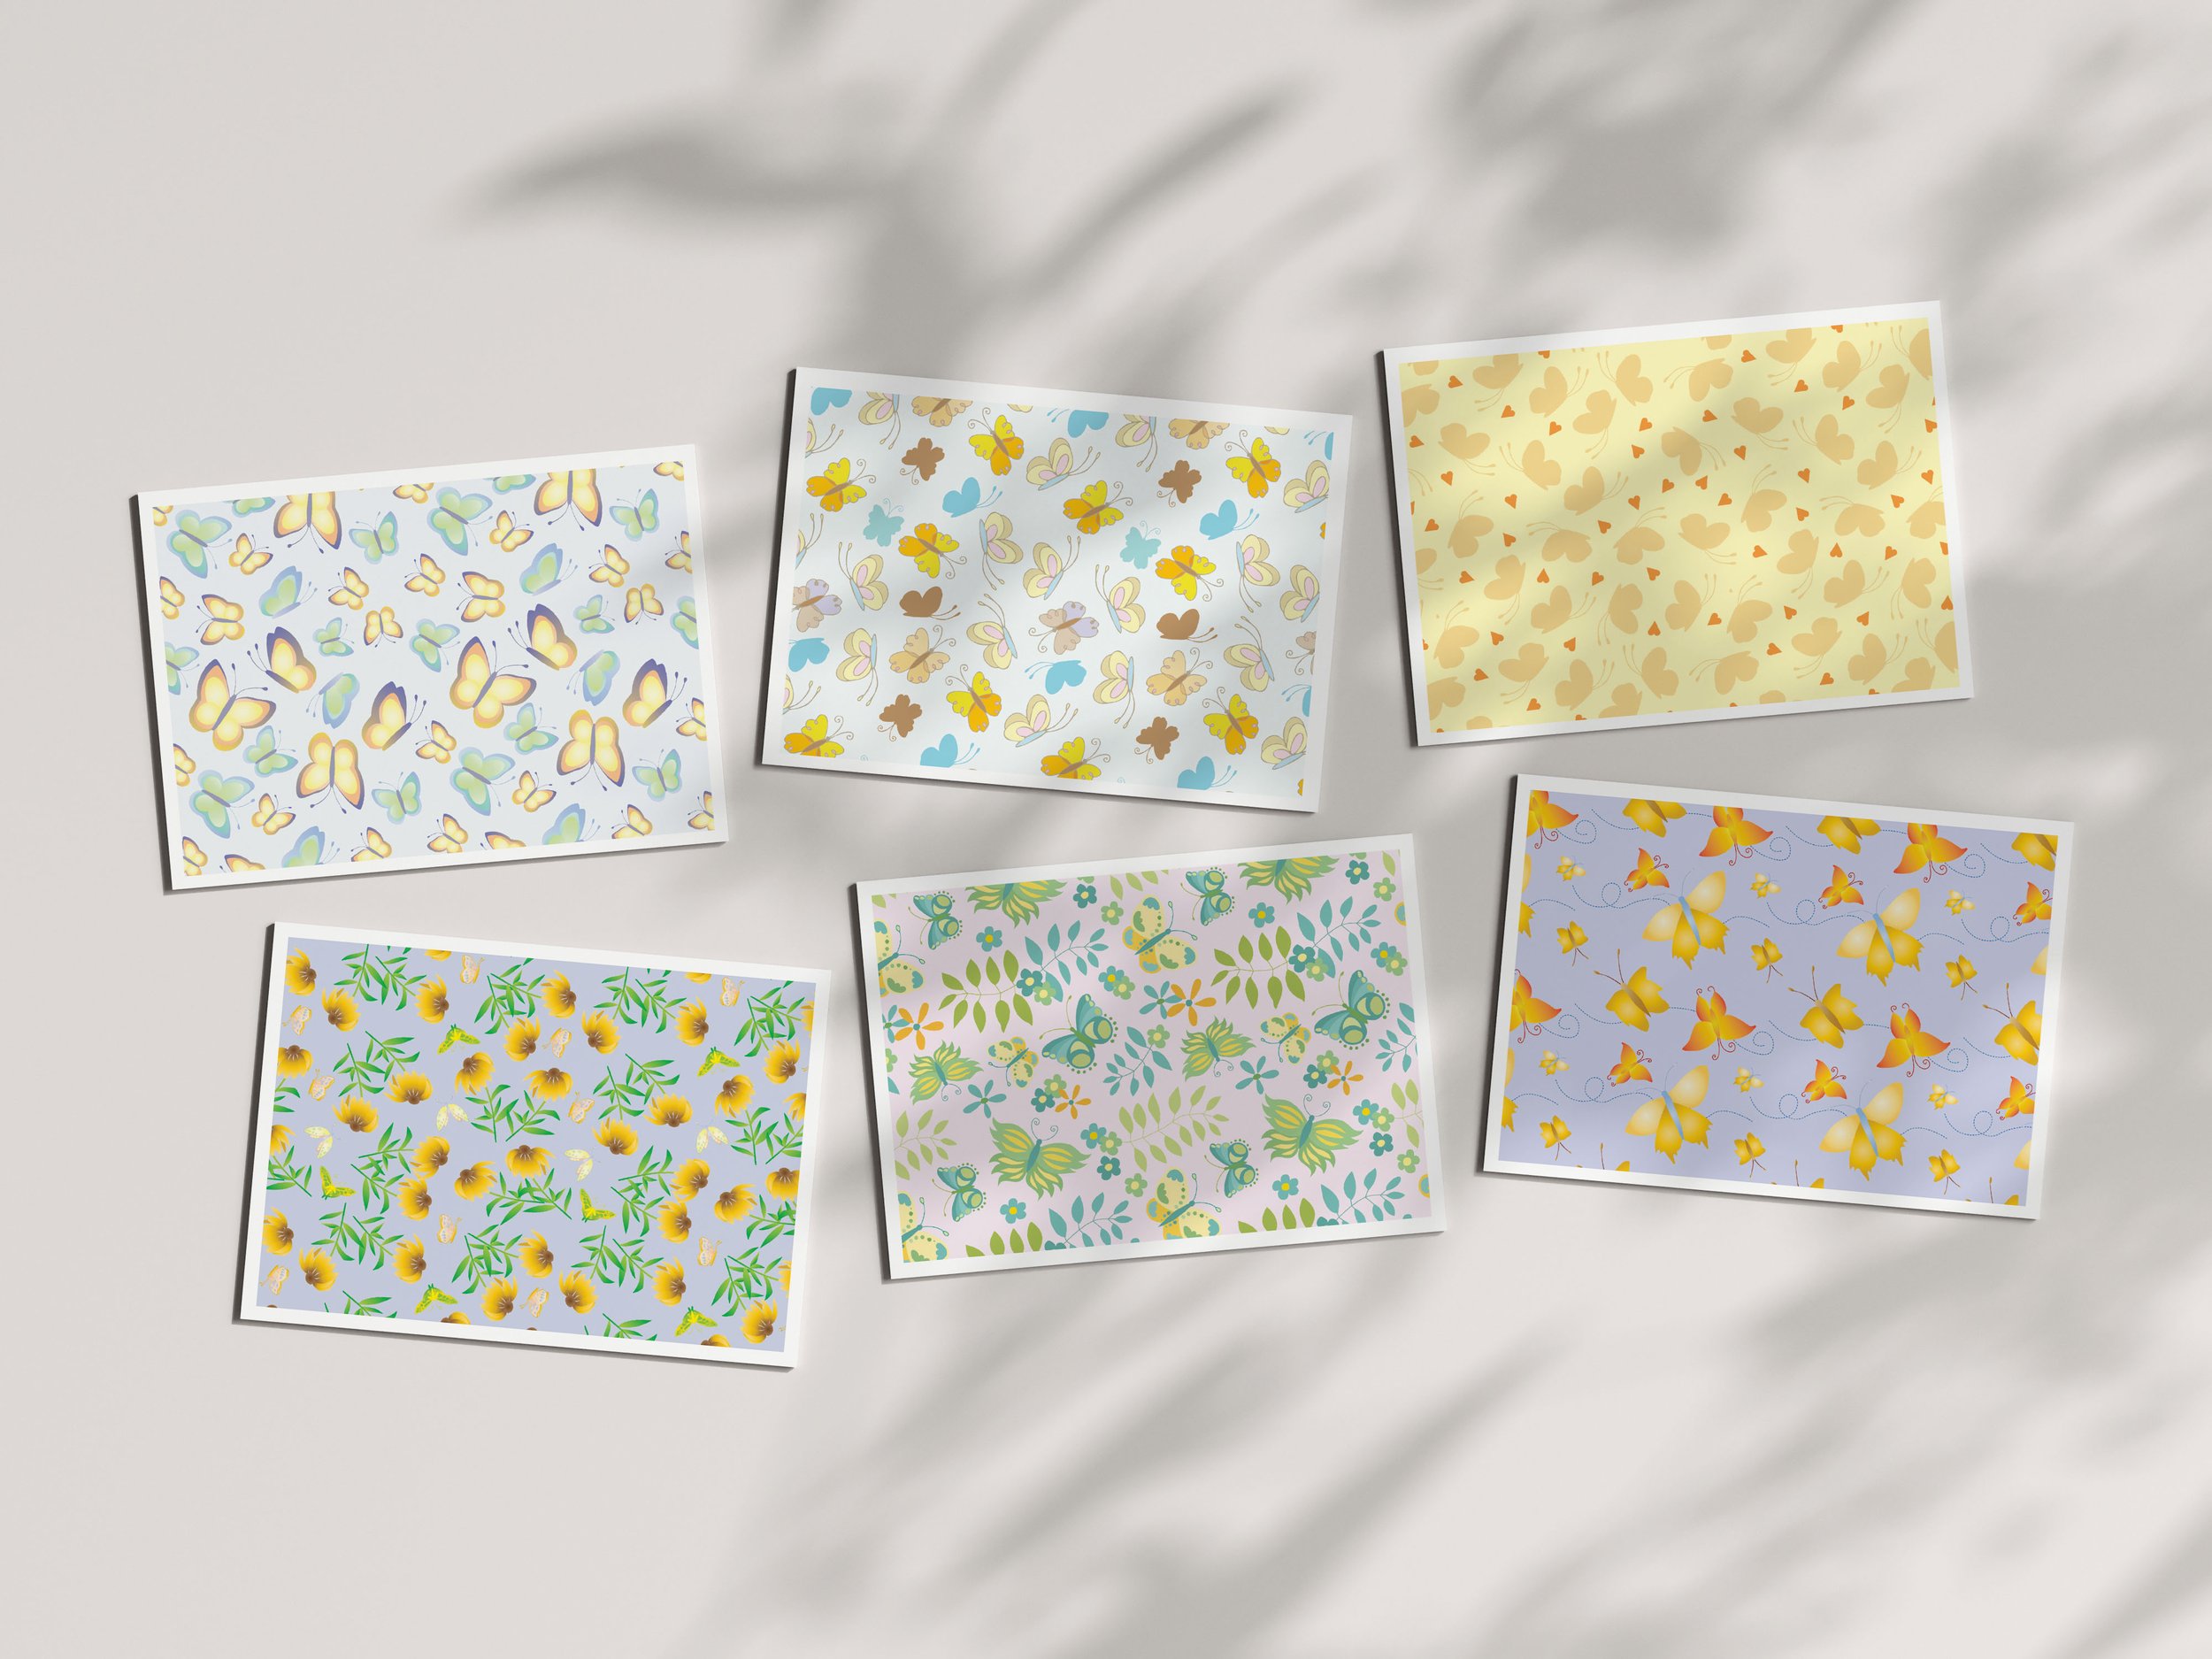
For the past five years, I've been painting and designing unique card artwork, showcased both at in-person events and on my Etsy Shop. Exciting news—I'm now venturing into the digital realm, offering products for you to create on your own.
This project transforms an 8.5 x 11-inch cardstock into two charming 5.5 x 4.25-inch note cards, perfectly fitting A2 envelopes. The best part? You can craft as many as your heart desires.
For this project you will need:
● A Digital Design – These instructions are intended for the notecards available in my in my Etsy Shop. However, they can be used to create any 5.5 x 4.25-inch note card digital design with two cards per sheet, also known as 'two up'.
● Adobe Acrobat Reader – This free download allows you to view and print digital files. Download it here. Please follow the instructions provided.
● Paper – I suggest high-quality card stock as thick as your printer can handle for the notecards. A good choice is Neenah card stock with a 110 lb. weight is available on Amazon, at Walmart, and Office Depot. Other choices are 110lb. card stock at Michaels and Joann Fabric and Crafts.
● Envelopes – The A2 sized envelopes that fit 5.5 x 4.25-inch notecards can be found on Amazon, Joann’s, Michaels and office supply stores.
● A Printer – I love my Canon Printer, but I have had some beautiful results from my old HP. Nowadays, most printers give you great results if you print with a high-quality print setting. If you don’t have a printer, I suggest using a local print shop.
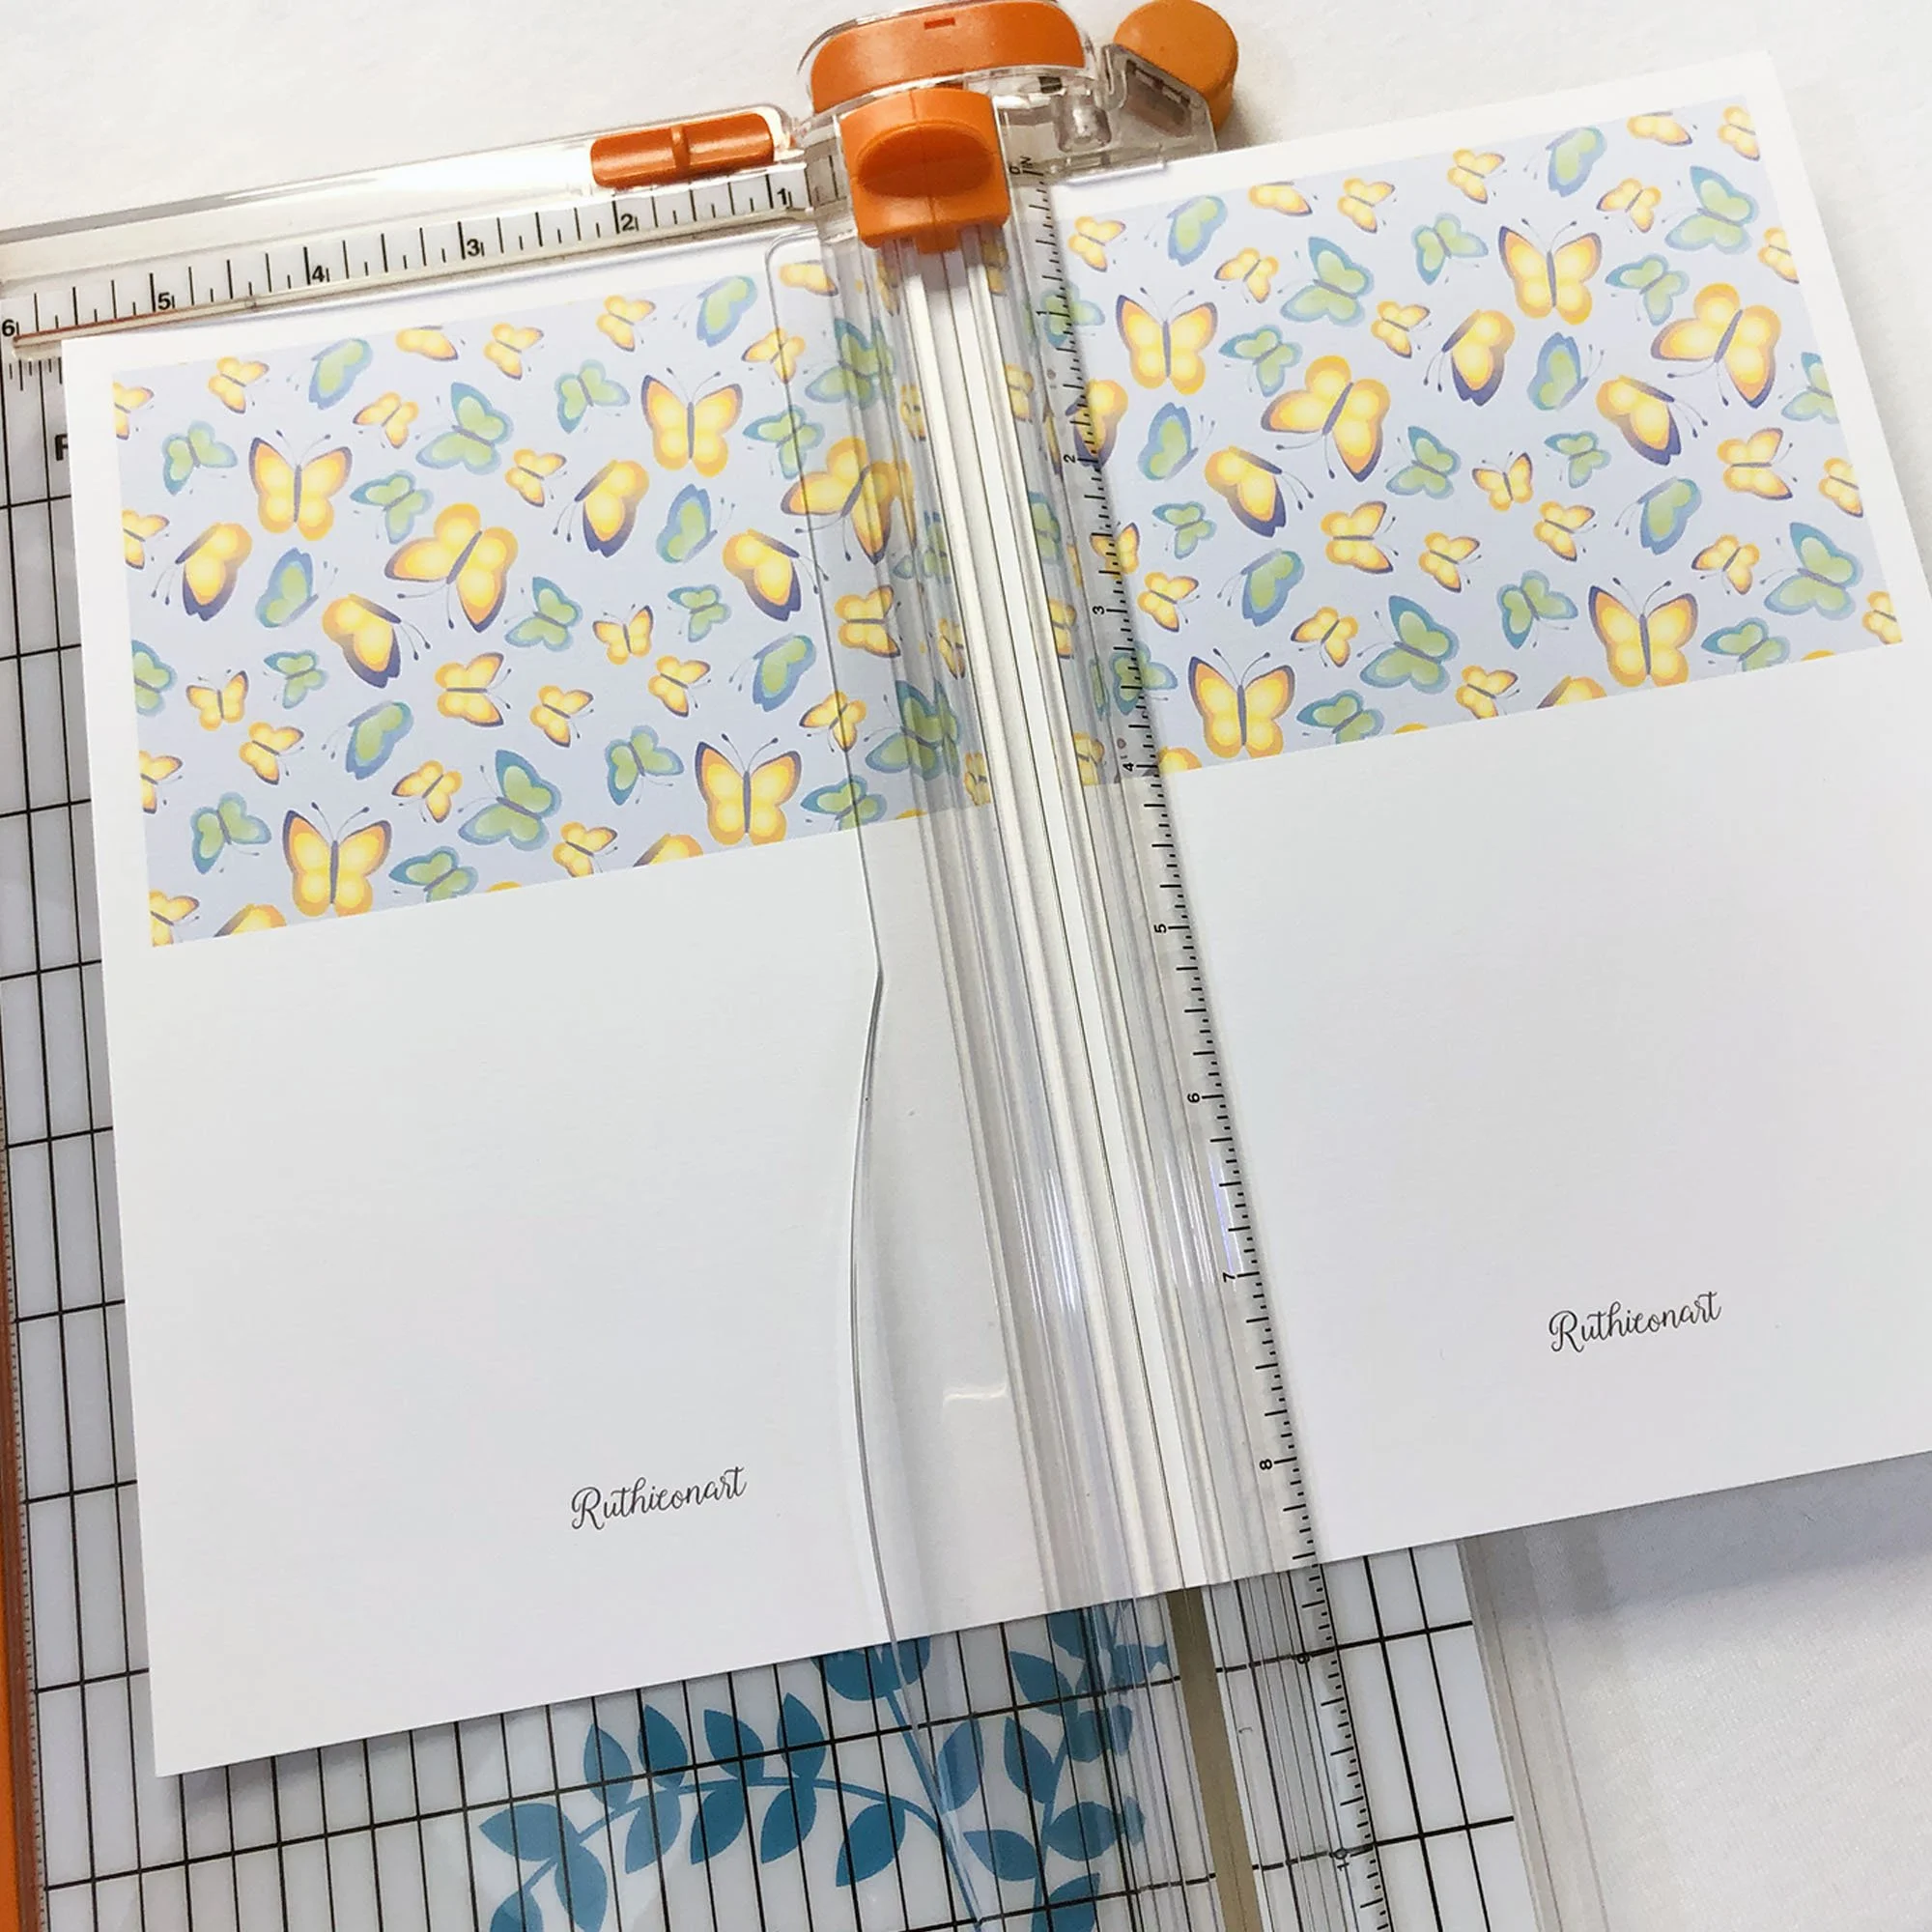
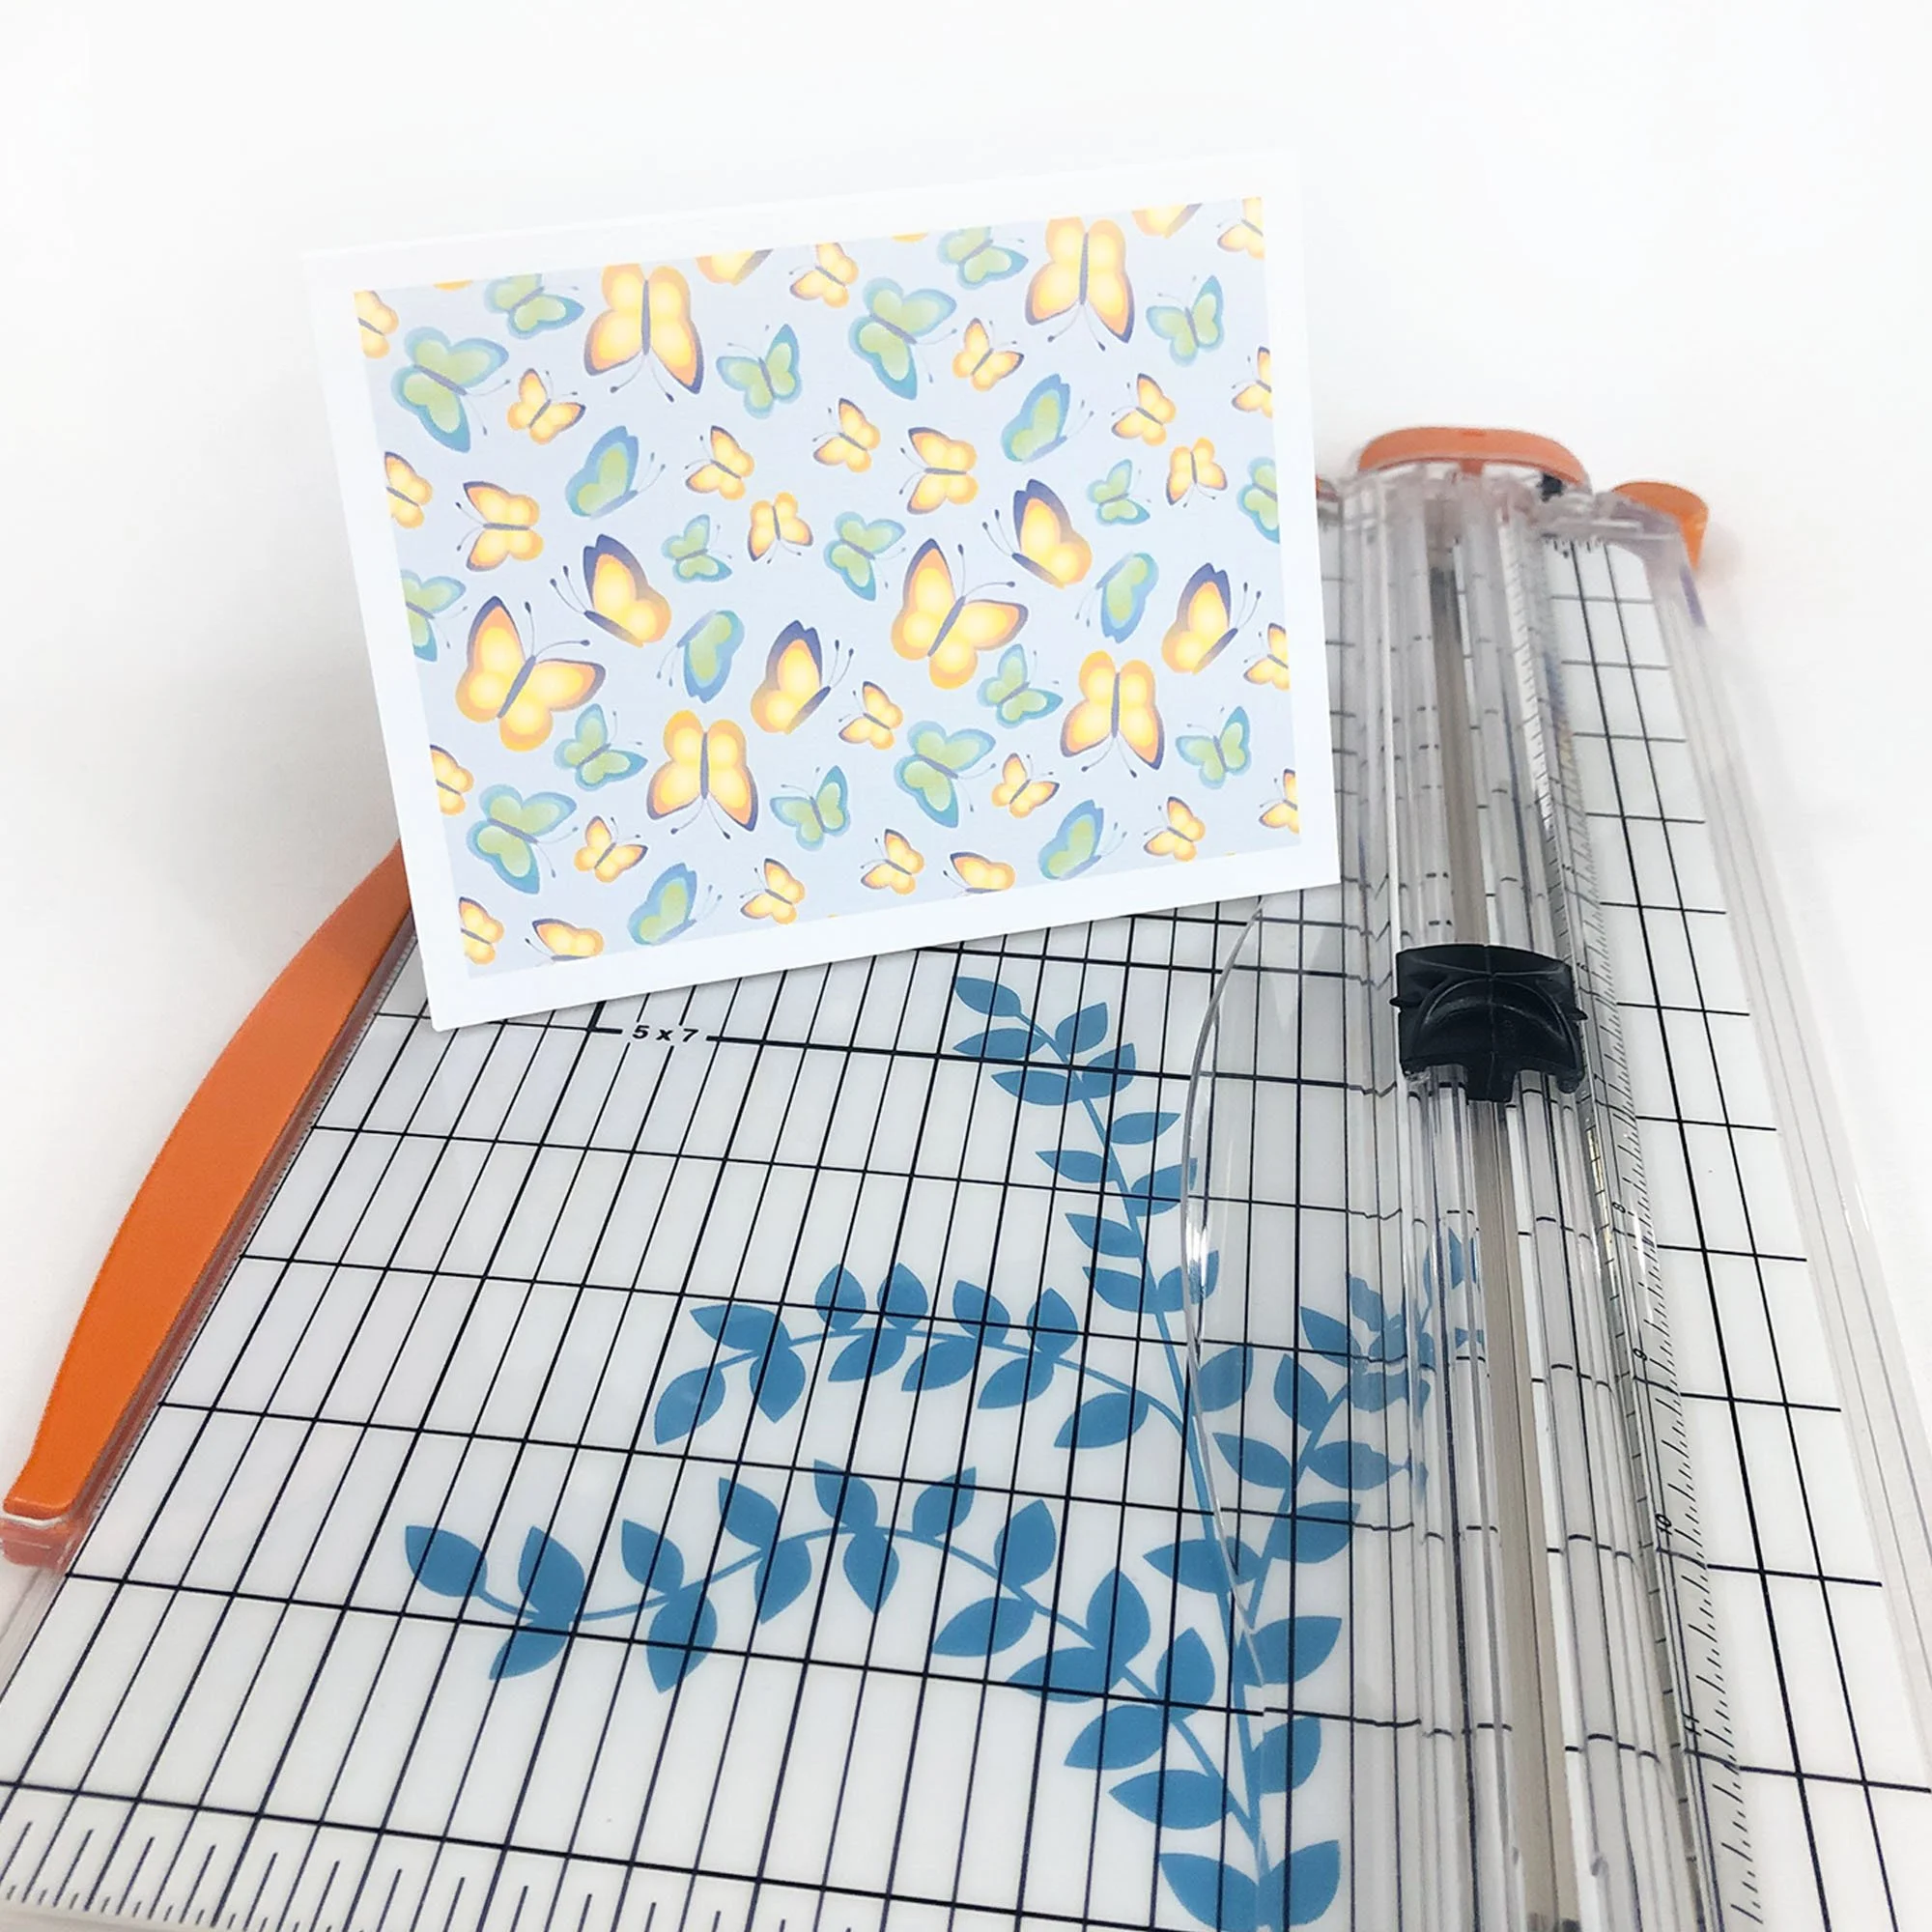
● A Paper Cutter – I have two. One is an old school paper cutter that has been restored. I love it, but you don’t need one like that. A Fiskar like the one pictured below works. And it also serves as a scorer, which I suggest you use for a nice clean fold. You can find the cutter on Amazon or Joann’s.
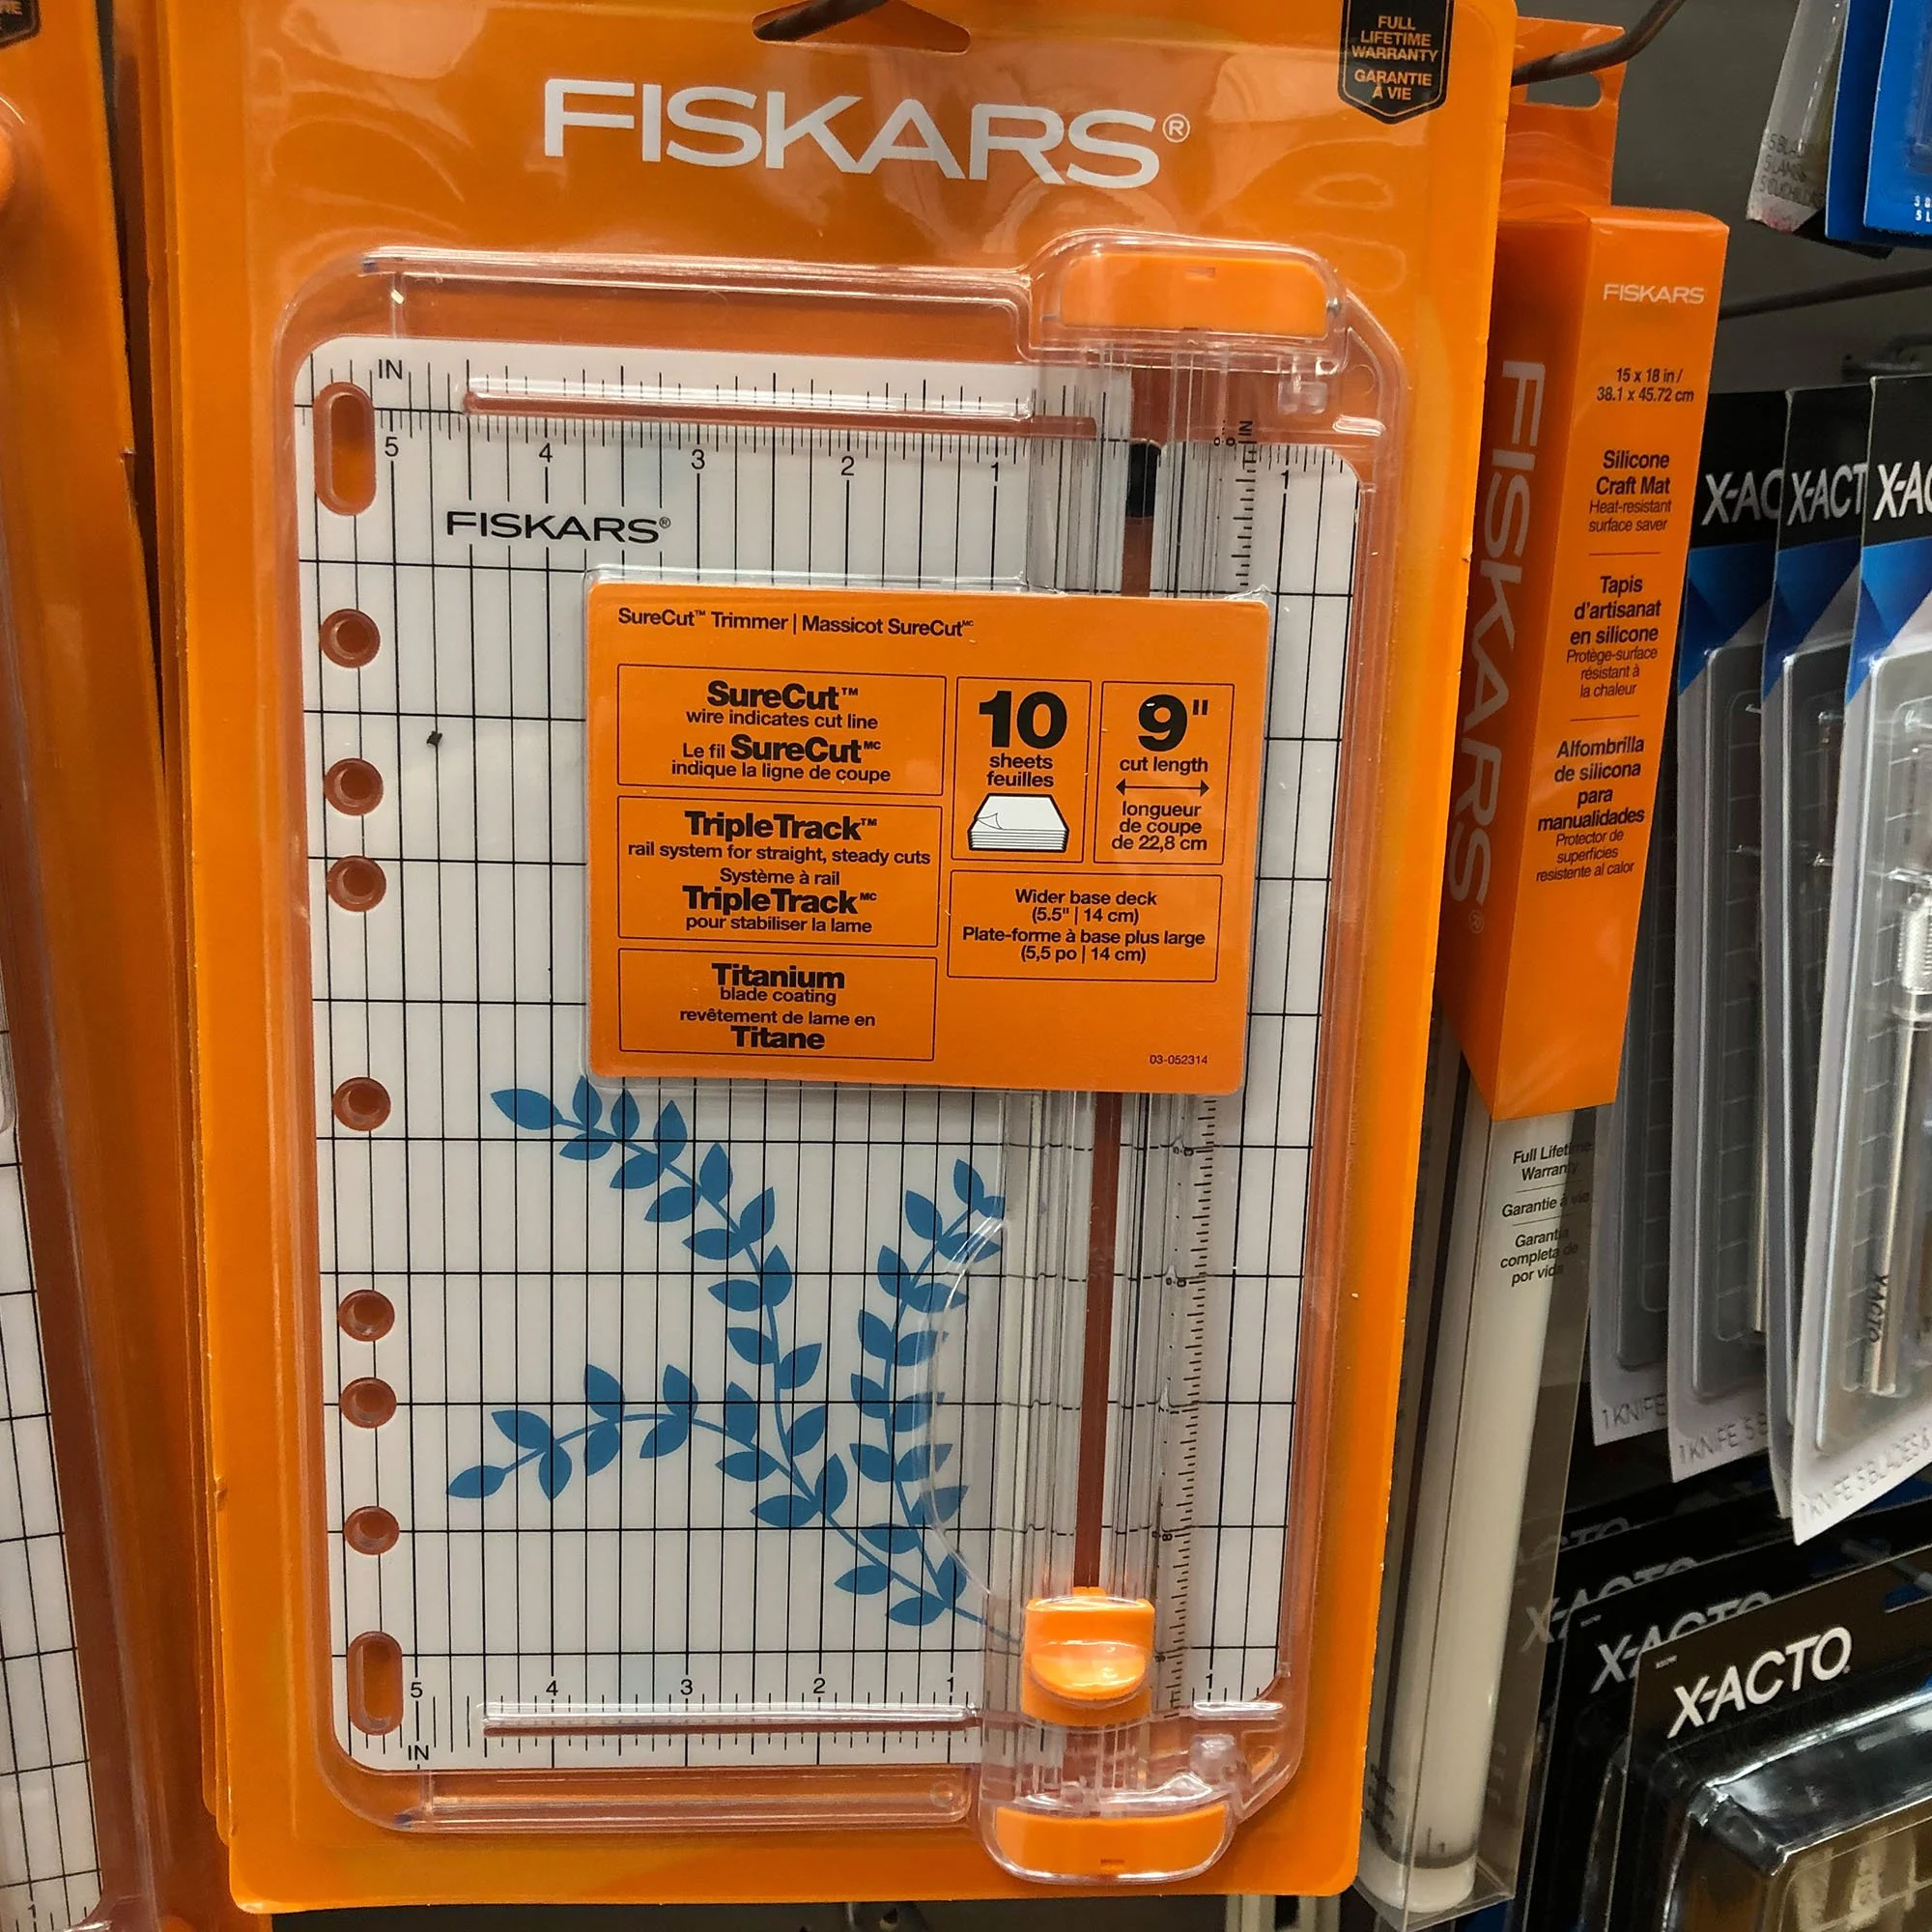
You need to buy the scorer separately, which is available on Amazon.
The scorer is designed to fit in where the blade is located, featuring a dull edge that creates a groove in the card stock, helping you achieve a clean fold.
Let’s get started.
How to Download the File
To download the notecard file, follow these steps on your Etsy Order Page: Click the provided link, which will direct you to the download page. Once there, click on the link to download the zip file containing the notecard designs and instructions. Retrieve the file from your download folder and relocate it to your preferred storage location on your computer—I personally use a folder named Digital Downloads.
Using Acrobat to Print
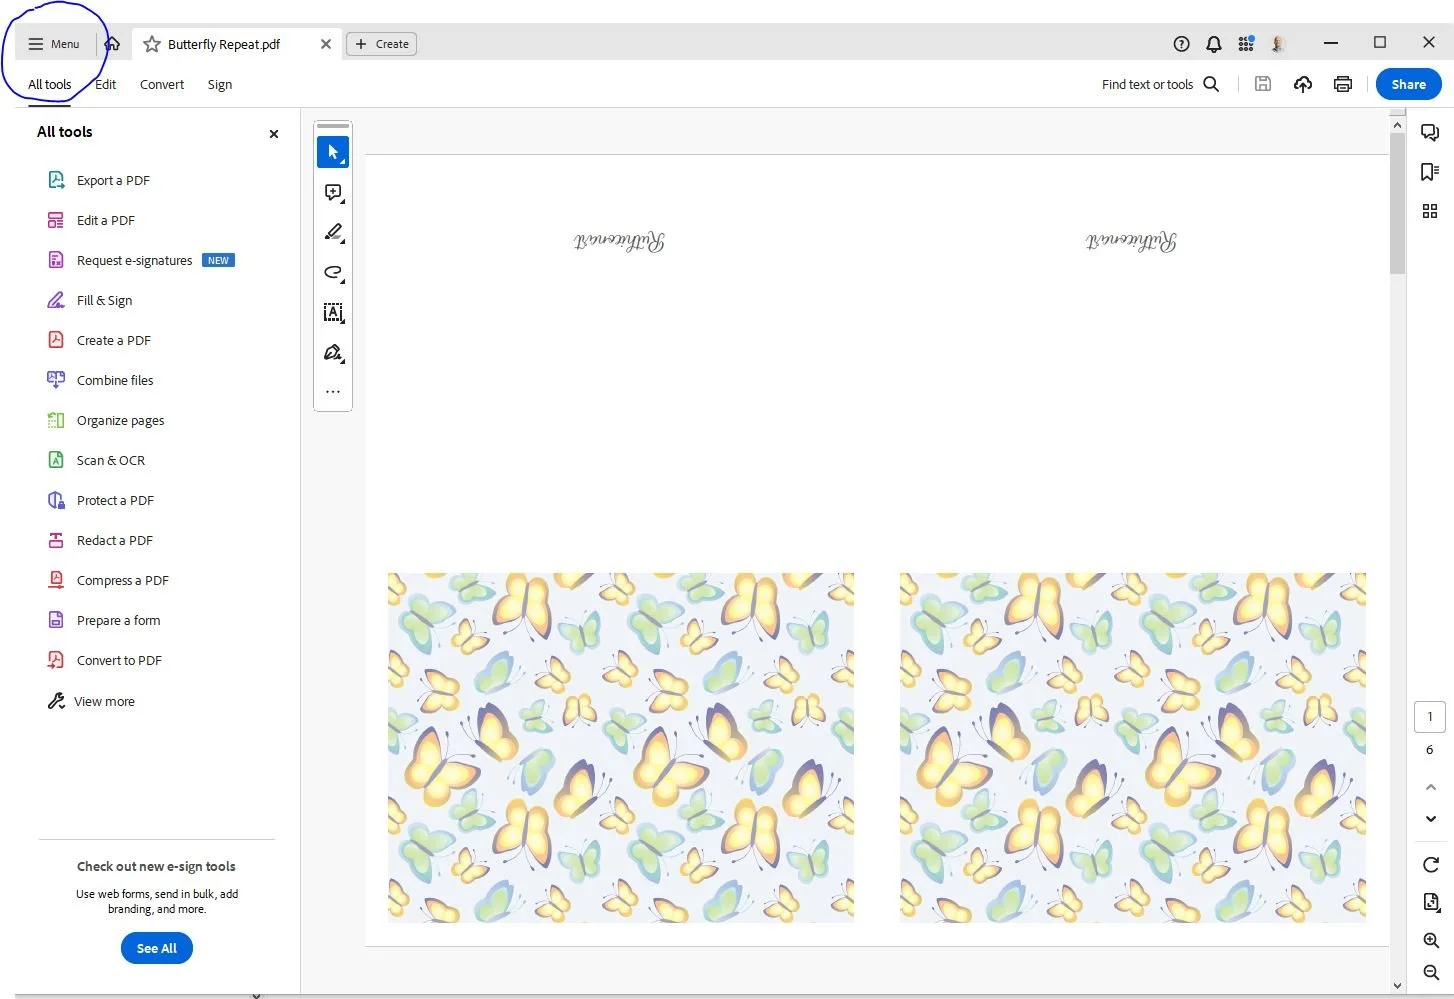
Open the notecards file in Acrobat, right-click on the file and choose "Open in Acrobat Reader." Once your file is open in Acrobat, find the MENU tab in the upper-left corner of the page. Click it, and a dropdown menu will appear. Choose the "Print" option..
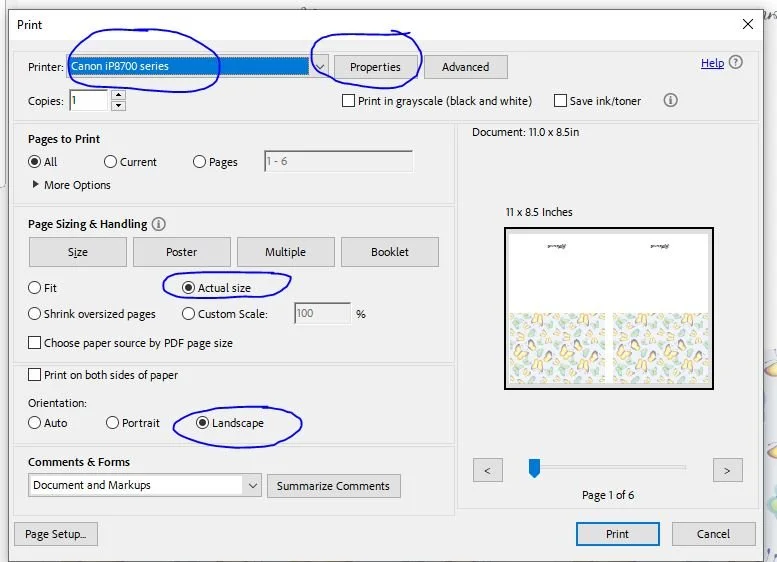
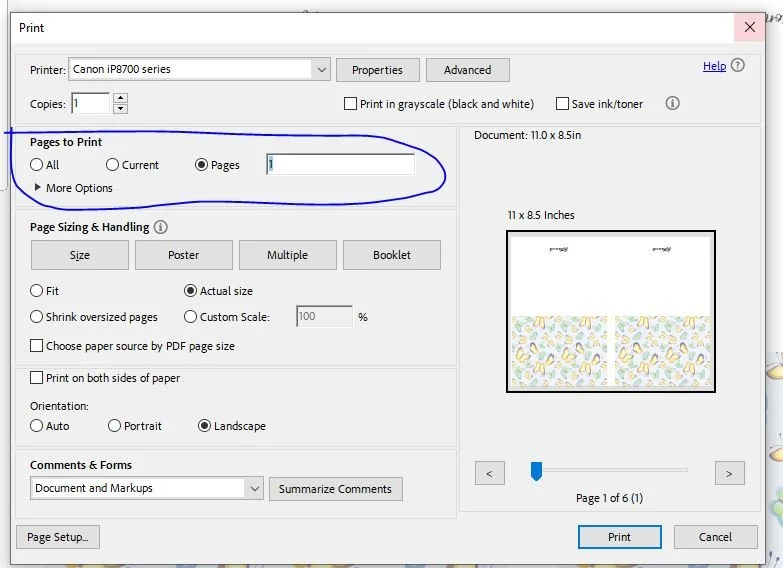
A dialog box will open. Select your printer. Select portrait for the notecards. Select Actual Size.
Make sure the print orientation matches the file orientation.
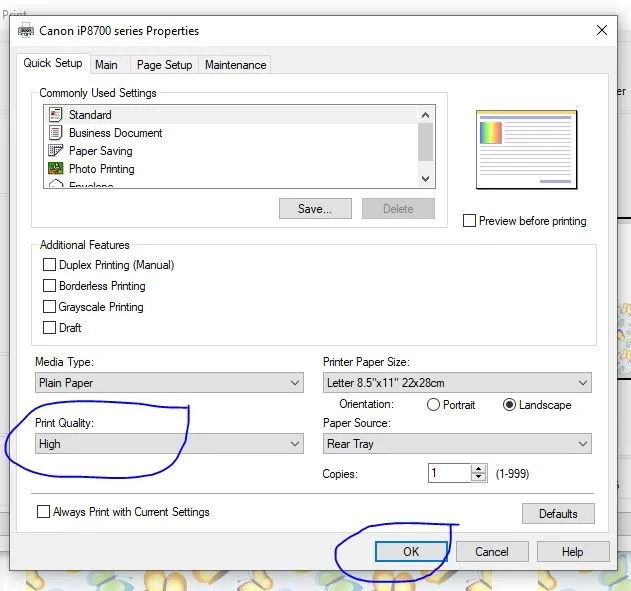
Go to properties at the center top of the dialog box. The properties dialog box will appear, and select High-Quality Print. Make sure to save your selection by hitting OK at the bottom right. The properties box will close. Make sure you have your paper loaded in the printer and click print.
Pro tip:
Print only one copy of the card to ensure the page has printed correctly before proceeding with the rest. In the print panel, set up the test by entering "1" in the "Pages to Print" section. If the test page looks satisfactory, proceed to the next step: cut, score, and fold the card to verify the correct size. See below.
Test it by slipping it into an A2 envelope. If the card looks good and fits the envelope, go ahead and print the remaining copies.
Since you are using heavy card stock, only insert two sheets into your printer at a time. This ensures that the printer can pull each sheet correctly; using more than two sheets may cause the paper to slip, resulting in a misprinted design.
Cutting the Notecard
Cut the note card in the center. The center of the card is 5.5-inches.
Trim a little off the side if you need to.

Scoring the Card
First you will need to change the cutter to a scorer. You can find instructions for that HERE.
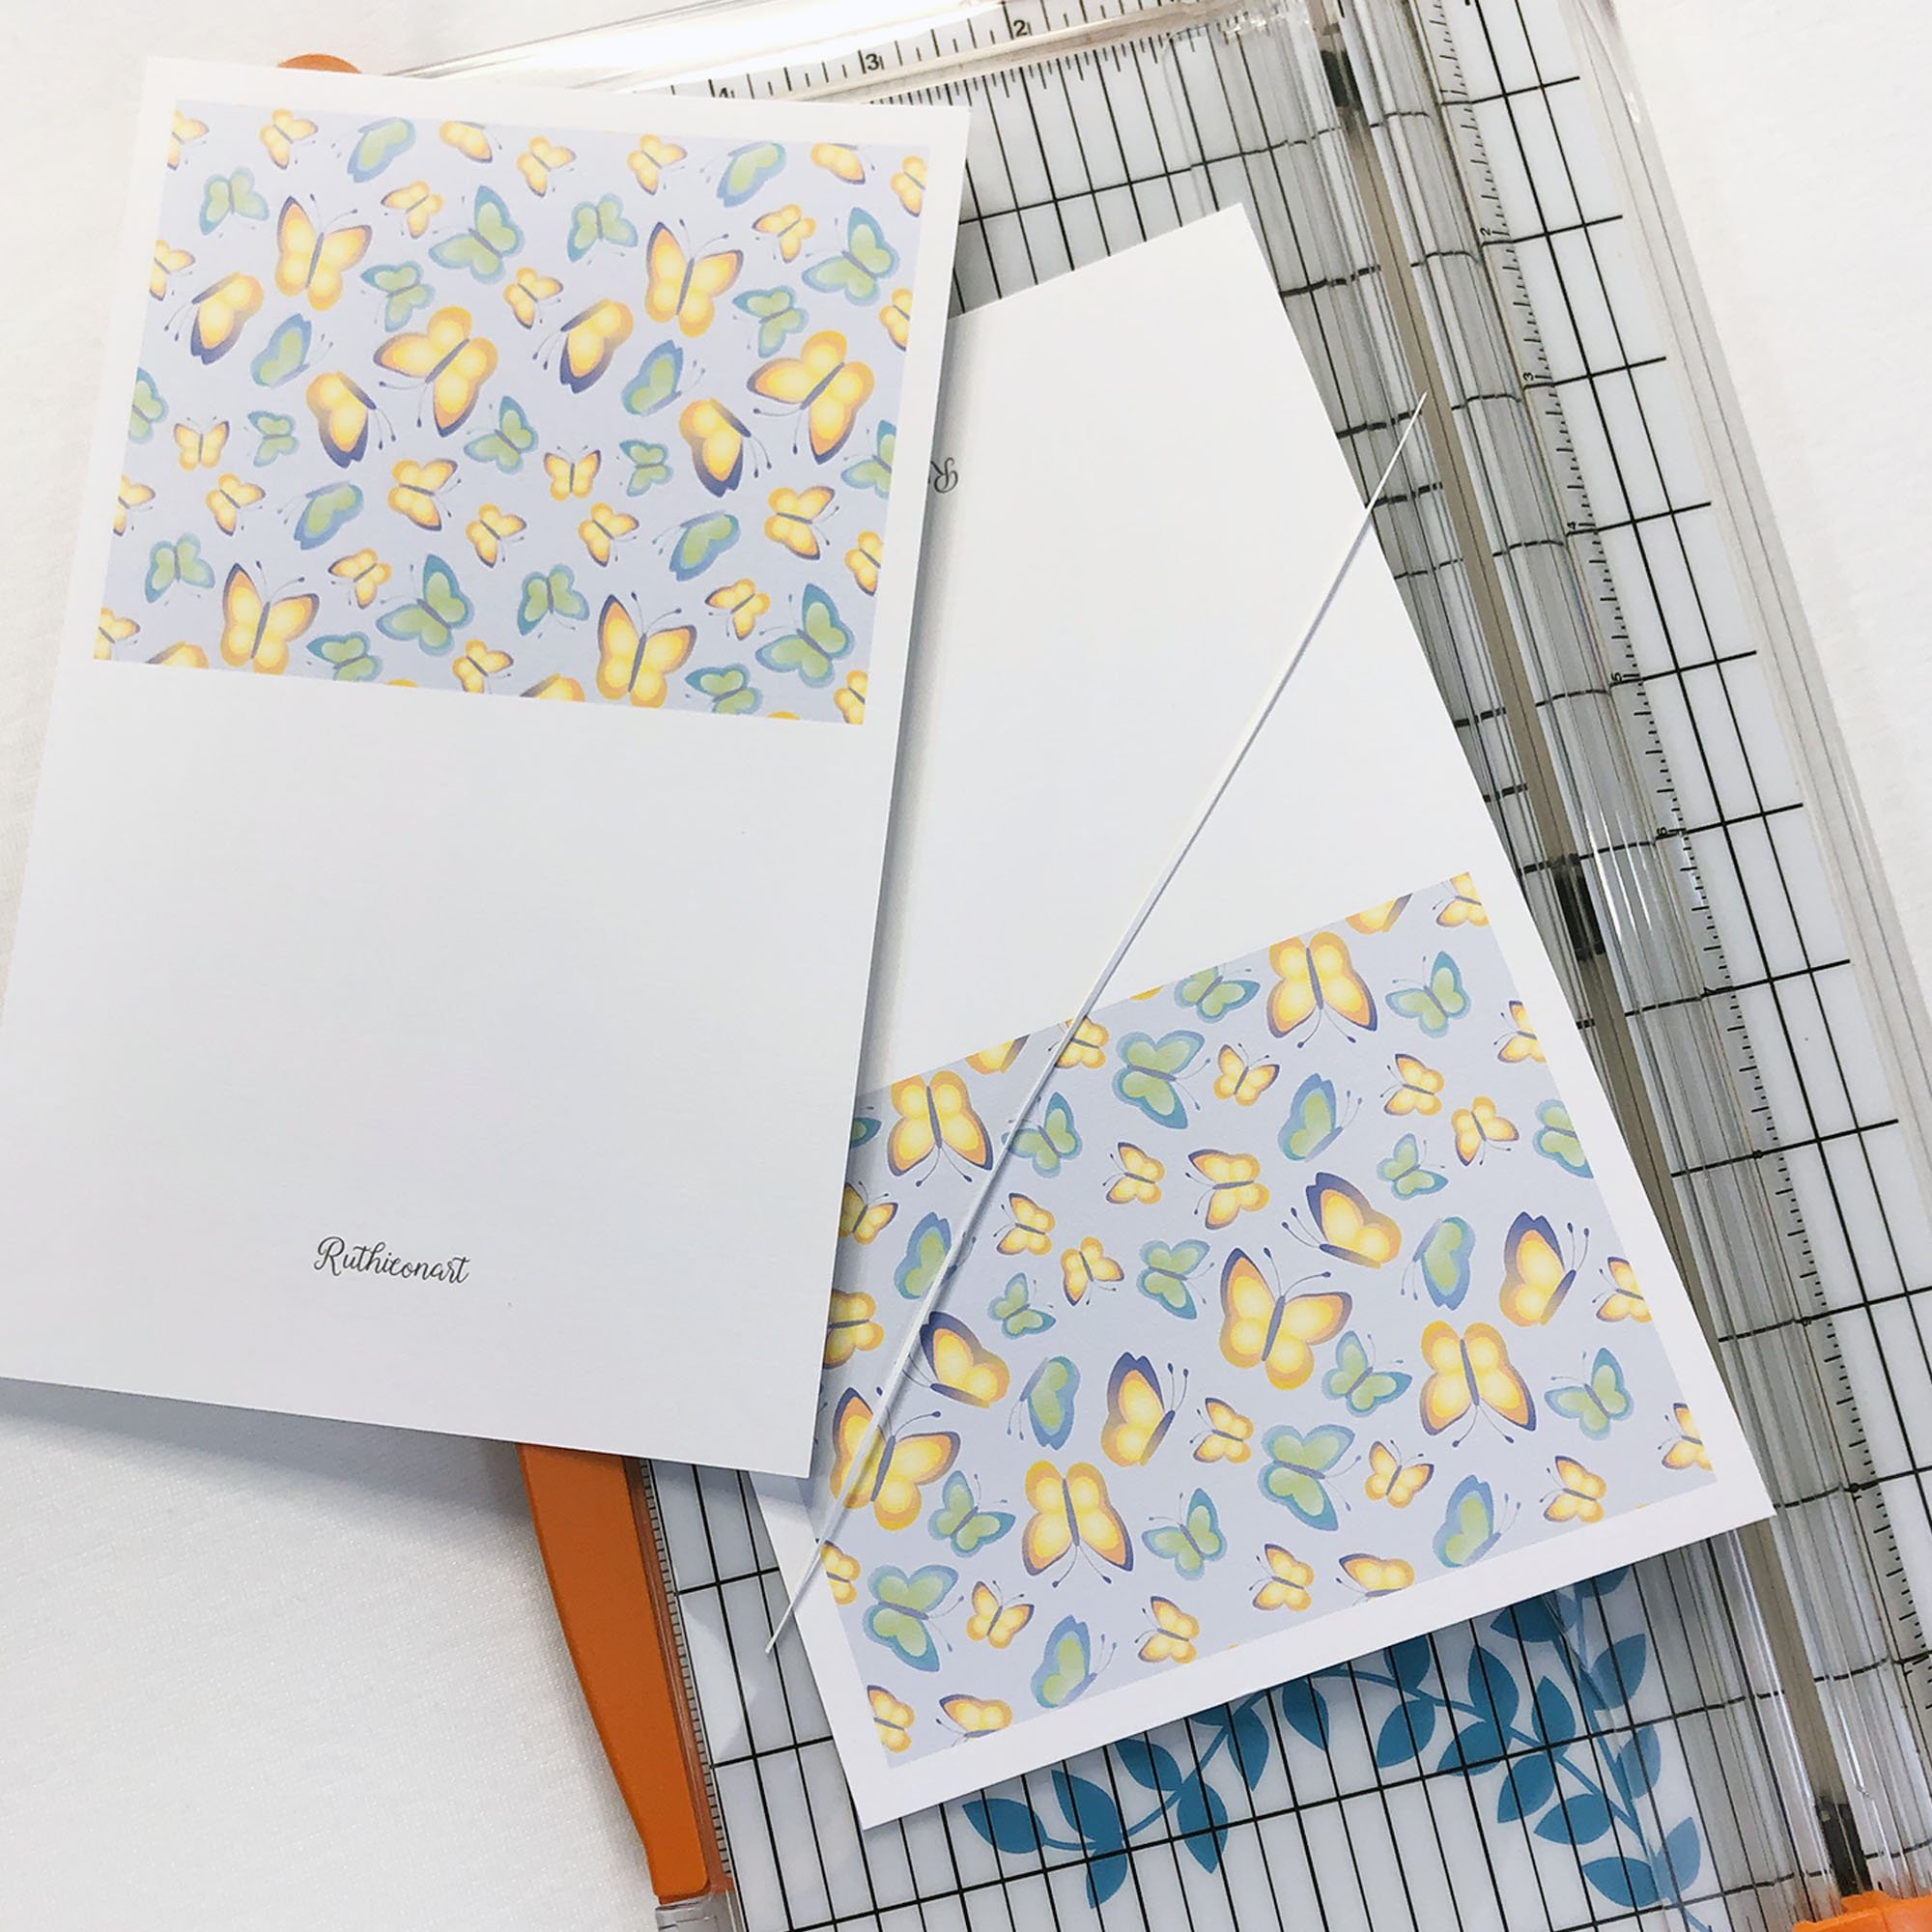
Score the cards in the center and fold them. The center of the card is 4.25-inches.
Once the cards are scored, easily fold them over.
Once you have printed, scored, and folded the cards, match them up with the envelopes.
I hope you find this blog post helpful. Please feel free to email me with any questions you may have. Enjoy DIYing your notecards!